In the hustle and bustle of daily life, finding simple yet effective ways to engage young children can be a challenge. Enter sensory bottles – an enchanting, easy-to-make tool that captivates little ones while providing numerous developmental benefits. Whether you’re a parent, caregiver, preschool teacher, or kindergarten teacher, sensory bottles can transform learning and playtime into magical moments. I’m not going to lie — I also enjoy a good sensory bottle. The process of making sensory bottles DIY is very relaxing for me.
What Are Sensory Bottles?
Sensory bottles are sealed containers filled with various materials designed to stimulate a child’s senses. They can be visual treats, auditory wonders, or tactile treasures. These bottles can help children explore new textures, colors, and sounds, providing a calming and educational experience.
Benefits of Sensory Bottles
Sensory bottles are not just fun; they offer a range of developmental benefits. They can enhance fine motor skills, improve focus, and foster creativity. Additionally, sensory bottles can be used as calming tools for anxious children, helping them relax and self-regulate.
Materials Needed for DIY Sensory Bottles
Creating sensory bottles at home is simple and cost-effective. You’ll need clear plastic bottles* or jars, clear glue, water or oil as a base, and a variety of fillers like glitter, beads, alphabet beads, rice, or small toys like squishies. You may also want to add food coloring, essential oils, or other decorative elements to make the bottles more engaging.
Step-by-Step Guide to Making Sensory Bottles
Follow these easy steps to create your own sensory bottles at home or in the classroom:
Step 1: Choose Your Bottle
Start with a clean, clear plastic bottle. Make sure it’s sturdy and has a tight-fitting lid to prevent leaks. Small water bottles, mason jars, or even recycled containers can work well.
Step 2: Select a Base Liquid
Decide whether you want to use water or oil as your base. Water is great for lightweight fillers, while oil can create a slower, more mesmerizing effect. You can also mix the two for a unique combination.
Step 3: Pick Your Fillers
Choose fillers that will create the sensory experience you’re aiming for. Glitter, sequins, or small beads can create a visual spectacle, while rice, pasta, or sand can add tactile elements. Small toys or themed items can make the bottles even more engaging.
Step 4: Seal the Bottle
Once you’ve added all your materials, securely seal the bottle. You can use hot glue or some kind of super adhesive around the lid to prevent leaks. Make sure the bottle is tightly closed before giving it to a child.
Creative Sensory Bottle Ideas
Here are some fun and imaginative sensory bottle ideas you can try:
Glitter Calm Down Bottle
Fill the bottle with water, add glitter glue, and a few drops of food coloring. Seal the bottle and shake it to mix the ingredients. The glitter will slowly settle, creating a calming effect that’s perfect for helping children relax.
Ocean Wave Bottle
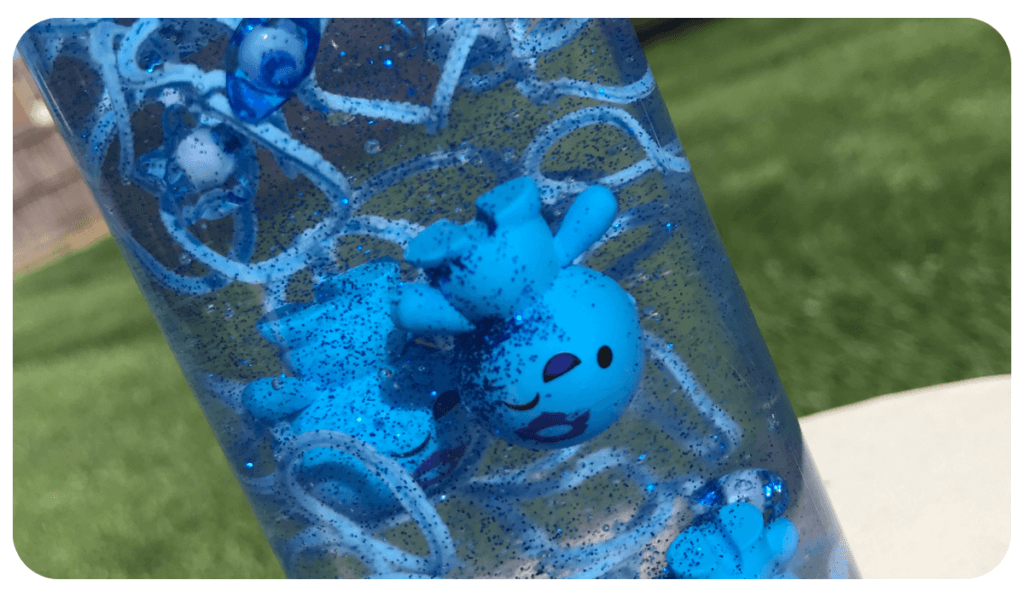
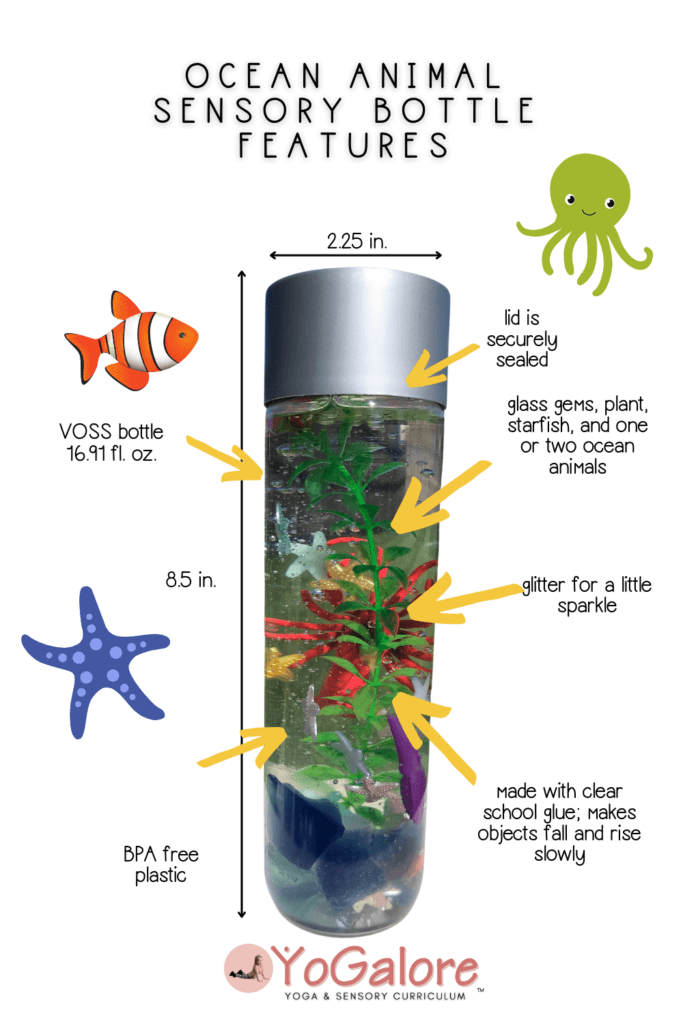
Use a clear bottle, fill it halfway with blue-tinted water, and top it off with baby oil. Add small seashells, fish-shaped beads, and a bit of glitter. Seal the bottle and gently rock it to create soothing ocean waves.
Sound Sensory Bottle or iSpy Sensory Bottle
Fill the bottle with rice, dried beans, or small bells. Seal the bottle and shake it to create different sounds. This bottle can help children explore auditory sensations and learn about cause and effect.
My Favorite Sensory Bottle
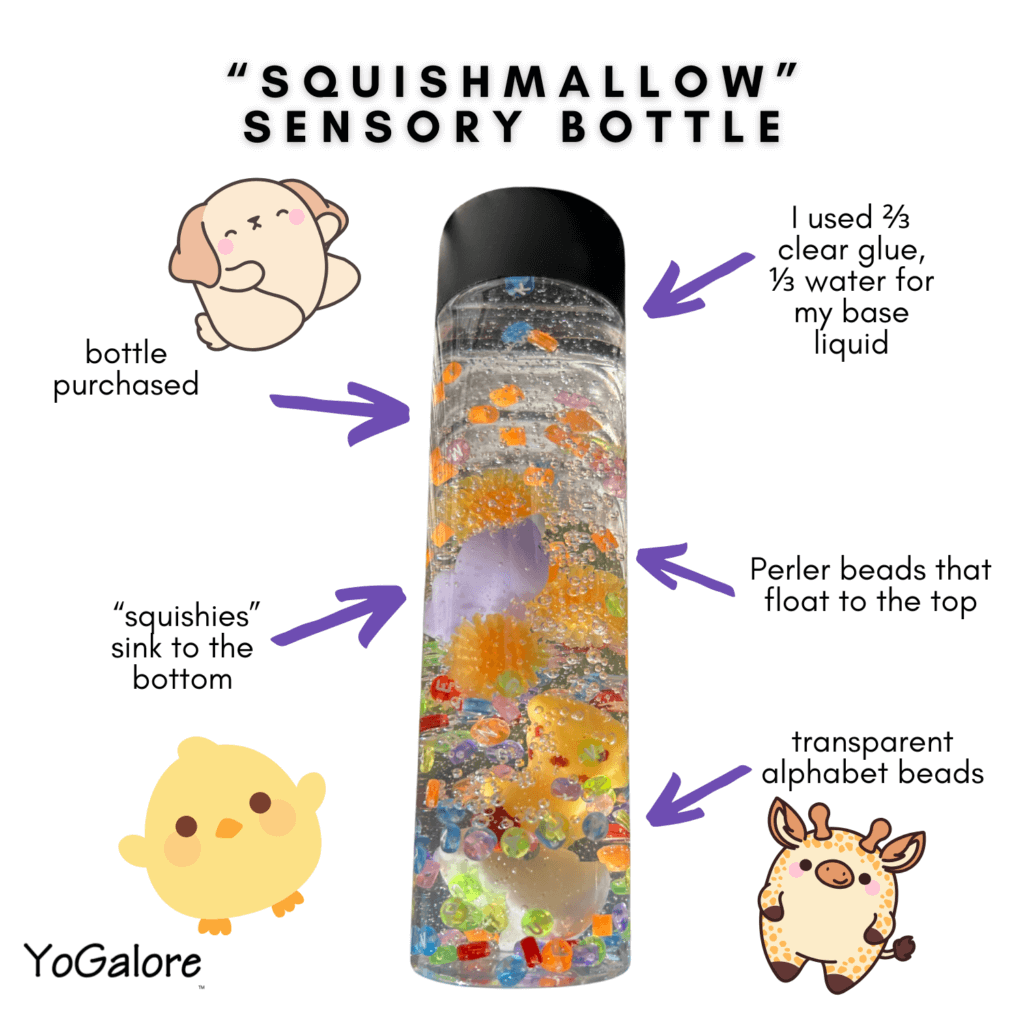
I like to use about 2/3 clear glue and 1/3 water (after you include your fillers). Bright colors and a mixture of items that both sink and float is a nice combination for a sensory bottle DIY. I don’t usually use glitter or food coloring anymore. Instead, I like to put my sensory bottles on a light table or puck light so they illuminate, especially at night.
Incorporating Sensory Bottles into Daily Activities
Sensory bottles can be used in various ways to enhance learning and play. Here are some ideas on how to incorporate them into daily activities:
Sensory Play Stations
Set up a sensory play station with different types of sensory bottles. Allow children to explore each bottle at their own pace, encouraging them to describe what they see, hear, and feel.
Story Time Companion
Use sensory bottles as props during story time. Create bottles that match the theme of the story and use them to engage children and bring the story to life.
Calming Corner
Create a calming corner in your home or classroom with a selection of sensory bottles. Encourage children to visit the corner when they need a break or are feeling overwhelmed.
Why Sensory Bottles Are a Must-Have for Early Childhood Development
Sensory bottles are more than just a fun activity; they’re a powerful tool for early childhood development. Here’s why:
Enhancing Cognitive Skills
Sensory bottles stimulate cognitive development by encouraging exploration and curiosity. Children learn to observe, compare, and contrast different materials, enhancing their problem-solving skills.
Promoting Language Development
Discussing what’s inside the sensory bottles can boost language development. Encourage children to describe what they see, feel, and hear, expanding their vocabulary and communication skills.
Supporting Emotional Regulation
Sensory bottles can help children manage their emotions. The visual and tactile stimuli can be calming, helping children self-regulate and feel more in control of their emotions.
Conclusion
Making Sensory bottles DIY can be a versatile and engaging tool for parents, caregivers, and educators. They provide endless opportunities for play, learning, and development. Creating these magical bottles at home or in the classroom can spark curiosity and joy in young children.
Ready to get started? Gather your materials, follow our simple steps, and watch as your child’s imagination comes to life. And don’t forget to share your creations with our community – we’d love to see the sensory bottles you make!
*This post contains affiliate links. If you click on a link and make a purchase, I receive a small commission at no cost to you.
