

Squish it. Roll it. Flatten it. Start again!
There’s something wonderfully satisfying about playdough—and honestly, the grown-ups usually enjoy it as much as the children do. This homemade playdough is a favorite in my Yogalore classes, where little hands turn it into everything from tiny pancakes to creatures that haven’t been discovered yet.
You don’t need an elaborate activity or a table full of supplies. A little playdough, a few simple tools, and time to explore are a lovely place to start.
This post contains affiliate links. If you purchase through one of these links, I may earn a small commission at no additional cost to you.
Easy Homemade Playdough Recipe
- 1 cup all-purpose flour
- ½ cup salt
- 2 teaspoons cream of tartar
- 1 cup water
- 1 tablespoon vegetable oil
- Food coloring, optional
How to Make Your Playdough
- Mix the dry ingredients. Stir together the flour, salt, and cream of tartar.
- Add the liquids. Add the water and vegetable oil, mixing until well combined.
- Choose your colors. Stir in a little food coloring. For several colors, divide the uncooked mixture between separate bowls, color each portion, and cook them individually.
- Cook and stir. Pour the mixture into a saucepan. Cook over medium heat, stirring continuously, until it thickens, pulls away from the sides, and gathers into a ball. It will look lumpy along the way—keep stirring!
- Cool and knead. Remove from the heat and transfer to a clean, heat-safe surface. Let it cool enough to handle comfortably, then knead until smooth. An adult should handle the cooking and hot dough.
- Store for another day. Once completely cool, place each color in a freezer zip-top bag, squeeze out excess air, and seal tightly. That’s how I store mine—no special containers needed!
My Tips for Colorful, Soft Playdough
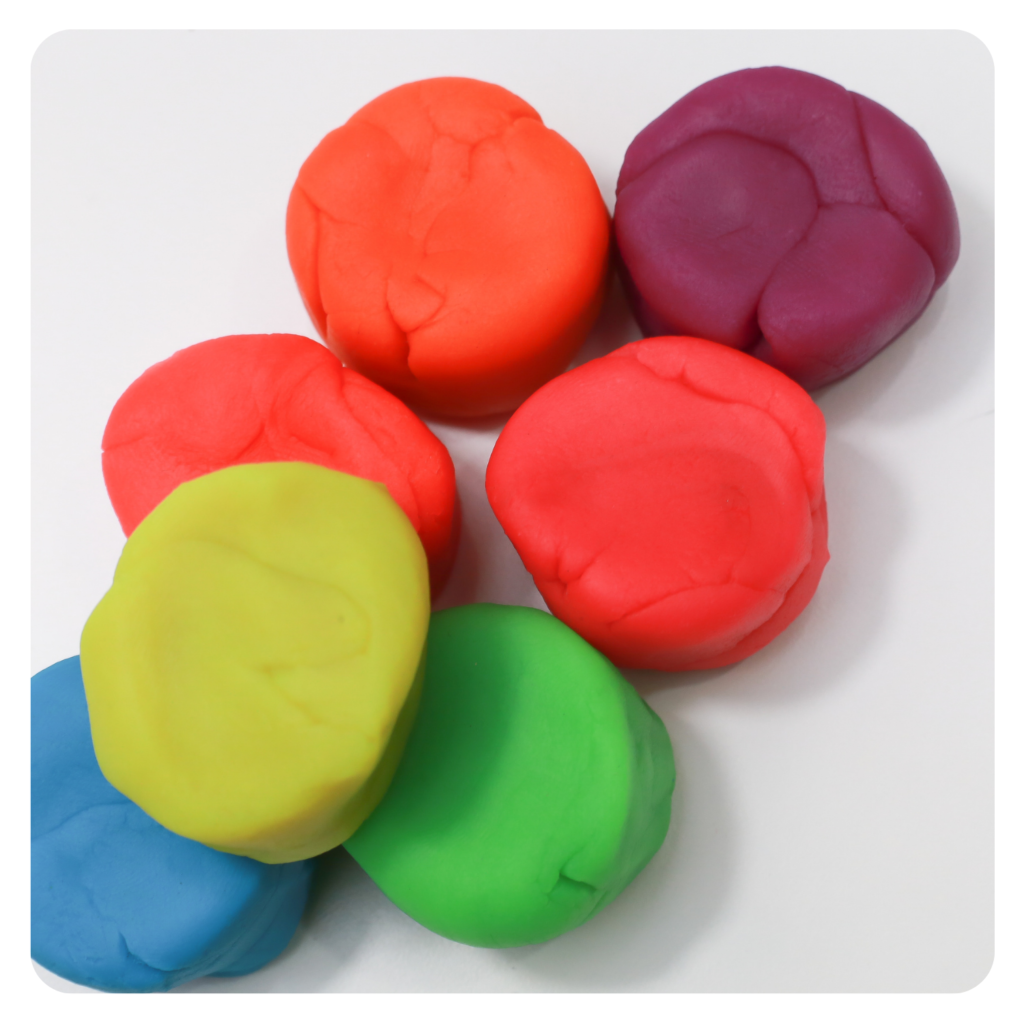
For vivid colors: I prefer gel food coloring because it gives me richer, brighter colors—closer to classic store-bought playdough. A little goes a long way, so start small and add more as needed. You can also leave your dough uncolored. The squishing is just as fun!
Give it a little kneading first: If your stored playdough feels firm, work it in your hands for a minute before adding anything. Sometimes that’s all mine needs to become soft and ready for play again.
If it still feels dry: Knead in a few drops of vegetable oil—the same kind used in the recipe. Start with a tiny amount and work it through thoroughly before adding more. You want soft dough, not greasy dough! I’ve also used fractionated coconut oil with good results.
A note about gel coloring: In my batches, I’ve noticed the dough sometimes feels drier when I use gel or icing colors. A little extra oil has helped me keep the texture the way I like it.
Simple storage works: I store mine in freezer zip-top bags and seal them again after each use. “Freezer” describes the bags—not where I keep the playdough!
At a recent library class, parents were amazed when I told them I’d made the playdough back in April! After a little kneading, it was still lovely to play with. How long yours lasts will depend on storage and use, but that batch is one reason I love making my own.
Discard dough if you notice mold, an unusual smell, or other signs of spoilage.
A Little Yogalore Magic at Home
At Yogalore, we make room for movement, curiosity, creativity, and rest. Playdough fits right in: children can squeeze, press, experiment, and create at their own pace.
Try a few simple invitations:
- Wake up those hands: Open your fingers wide, then gently close them. Now give your dough a squeeze!
- Follow their imagination: “Tell me about what you’re making.” A lumpy blob might have a very important story.
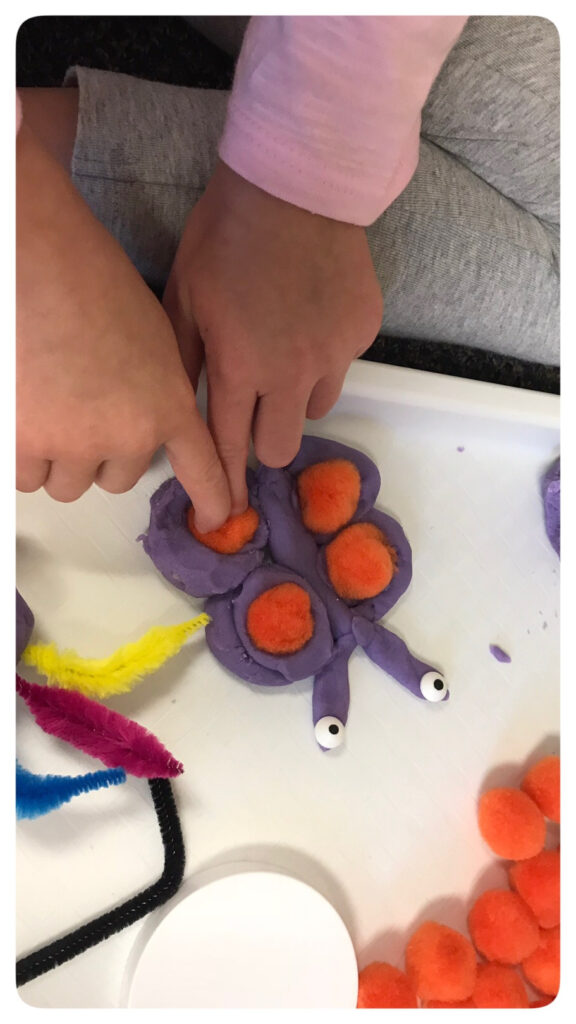
- Explore together: Roll long snakes, press thumbprints, or see what happens when you flatten a ball.
- Take your own turn: Pull up a chair and make something alongside your child. Grown-ups get to play, too.
There’s no finished project to copy and no perfect result to reach. Some children will build an entire world. Others will happily squish the same piece over and over. Both are welcome here.
Keep It Simple
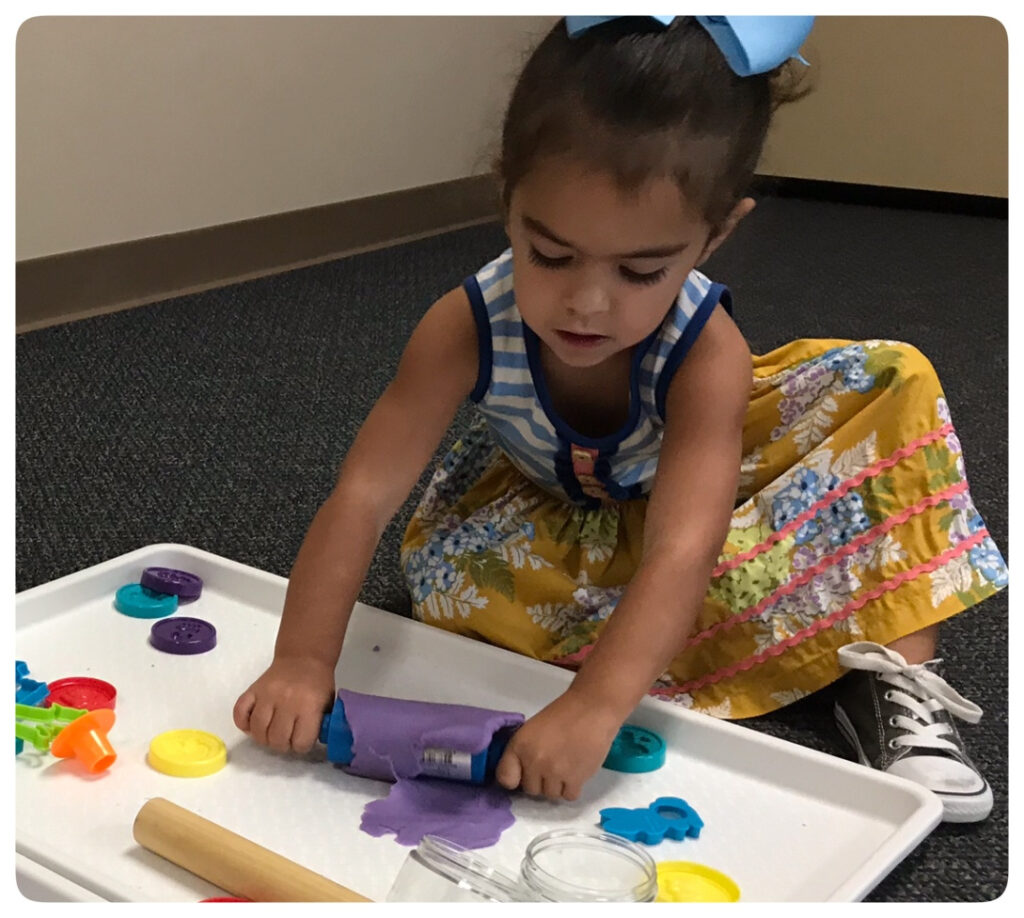
Start with a small piece of dough and a washable tray or placemat. A rolling pin, a few cookie cutters, or a plastic cup can offer plenty to explore. Let your child decide whether to use the tools—or just their hands.
Have a cloth nearby for anyone who wants to wipe their fingers, and give children time to get comfortable with the texture. Watching first is okay, too.
Playdough is for playing, not eating. Supervise young children and check the ingredients for any allergies before offering it. This recipe contains wheat. You can find a wheat-free option here.
My Favorite Playdough Tools & Gift Ideas
Little hands can do plenty with playdough all on their own, but a few fun tools offer even more ways to explore!
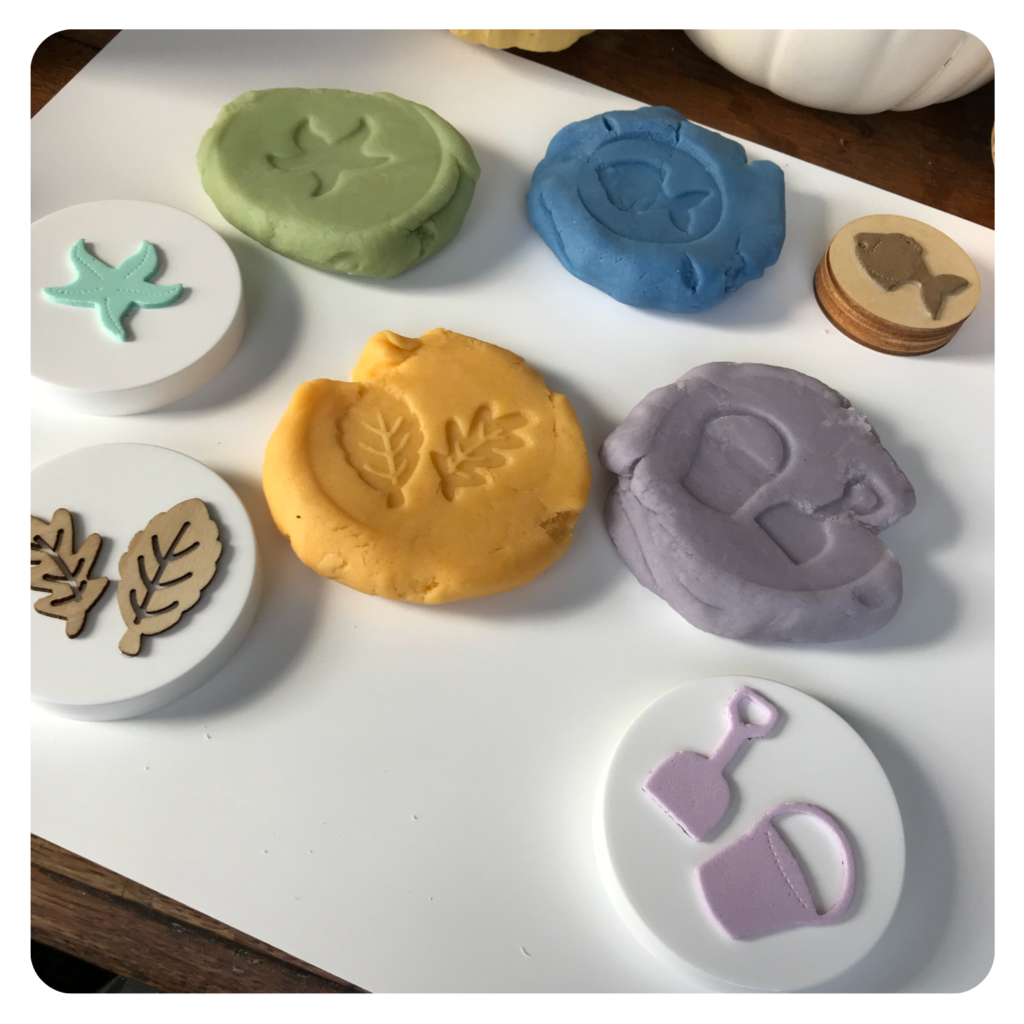
Plastic cookie cutters: These are favorites in my classes. Choose simple shapes with smooth edges that little hands can comfortably press into the dough. I like these because they are plastic, which means I don’t have to worry about them rusting and the “comfort press” on them can’t be beat. Animals, dinosaurs, and seasonal shapes are fun for pretend play, too.
Playdough rollers: I’ve found some ridiculously cute rollers! Some flatten the dough, while others leave patterns and textures. They’re a fun addition to a classroom playdough station—and watching a pattern appear as you roll is pretty satisfying for grown-ups, too.
Make a little playdough gift: Pair a few colors of homemade playdough with plastic cookie cutters and a cute roller for a thoughtful birthday gift. Choose tools suited to the child’s age, tuck everything together, and include the recipe so the family knows what’s in the dough and can make more.
Start with just a few tools. There’s no need to buy a whole collection—leave plenty of room for their own ideas!
My latest favorite playdough accessory is the flexible silicone playedough mat. They clean easily and it stays in place.
A little squishing. A little connection. A whole lot of possibility.
That’s Yogalore at home.


9 Responses