
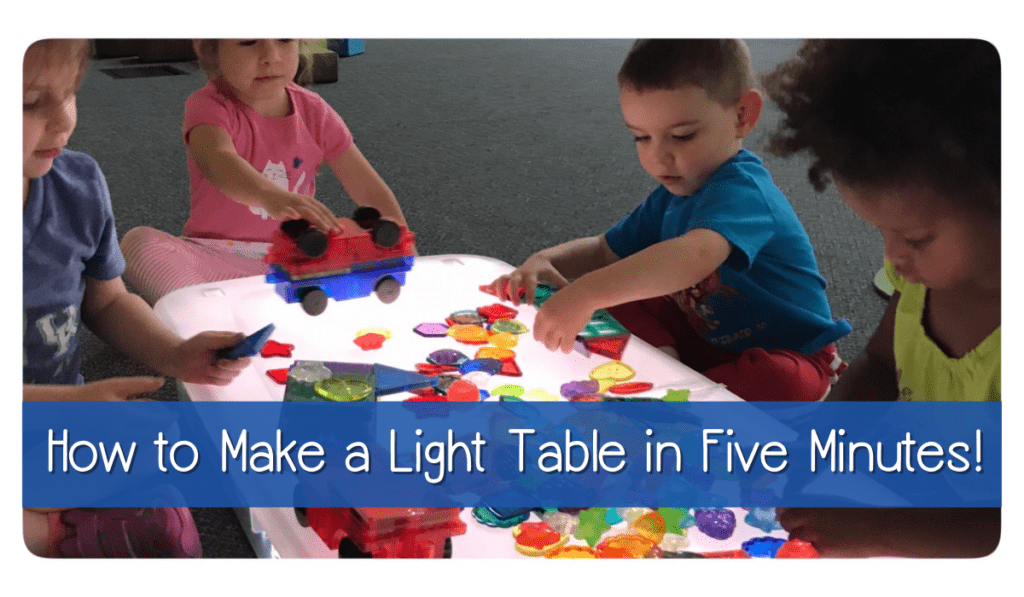
 This may very well be one of my all time favorite posts to write here on Yogalore and More. I always get excited when I make something cool that the children enjoy (and I enjoy too!). We talk so much about how important sensory experiences are for preschoolers and the benefits they get from that kind of play. Last week I made a light table. I made it in less than five minutes. Was it the cheapest way? No, it wasn’t, but that post is for another time (and I will write several more on this topic!). But it was fast and it worked really well, especially for our purposes.
We’ll cut to the chase. Here’s what you’ll need:
- 1 plastic shallow storage bin with a white lid (available in any number of sizes, whatever works for the number of children who will be using it).
- tin foil (I used Heavy Duty Reynolds Wrap, but I think any kind will do)
- 3 electric puck lights
- glass beads and transparent shapes, gems (any items that are transparent that would be cool on the light table)
- printables with shapes (optional, I found some sheets online and printed them out — they had all kinds of designs and patterns with small circles and the children could use those as a guide with a sheet protector and cover with beads and gems if they didn’t want to make something on their own)
- drill
- bi-metal hole saw (about 1.5 inches hole — big enough to get the cord through)
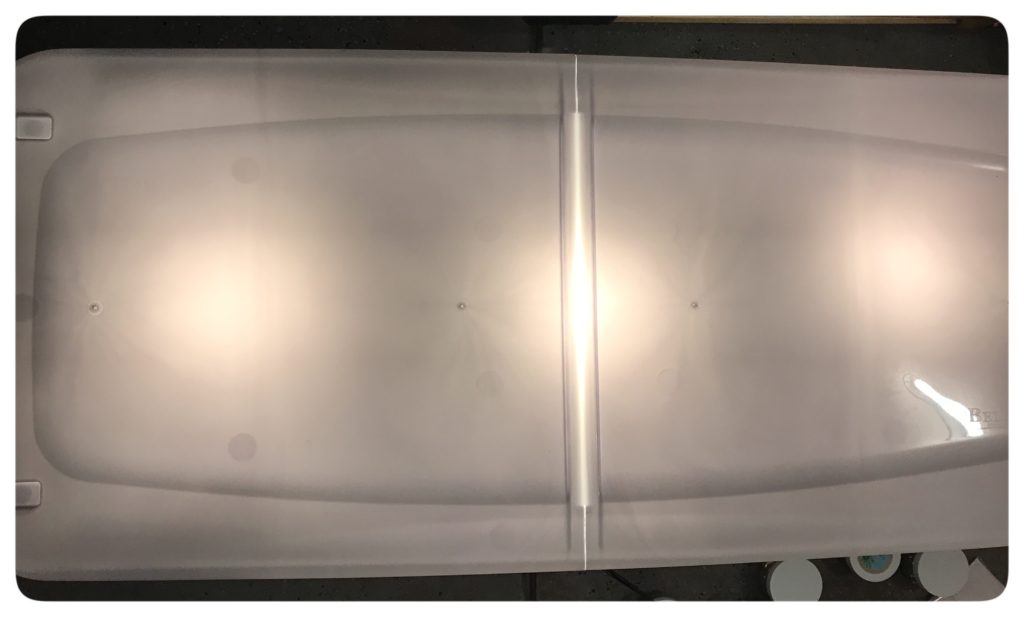
I got a very large bin (found mine at Lowe’s for $20, but it was long and on wheels). I wanted it to be big enough that six children could sit at it comfortably but small enough that it would be easy to cart around. What I like about my bin is that the lid is divided into two sections and you can lift each side independently. The best part is you can store all the stuff you use for the light table inside the container. I also bought my puck lights at Lowe’s for about $24, I think for a set of 3. These lights are great because they will connect to each other if you need all three, but you may only need one or two depending on the size of you bin.
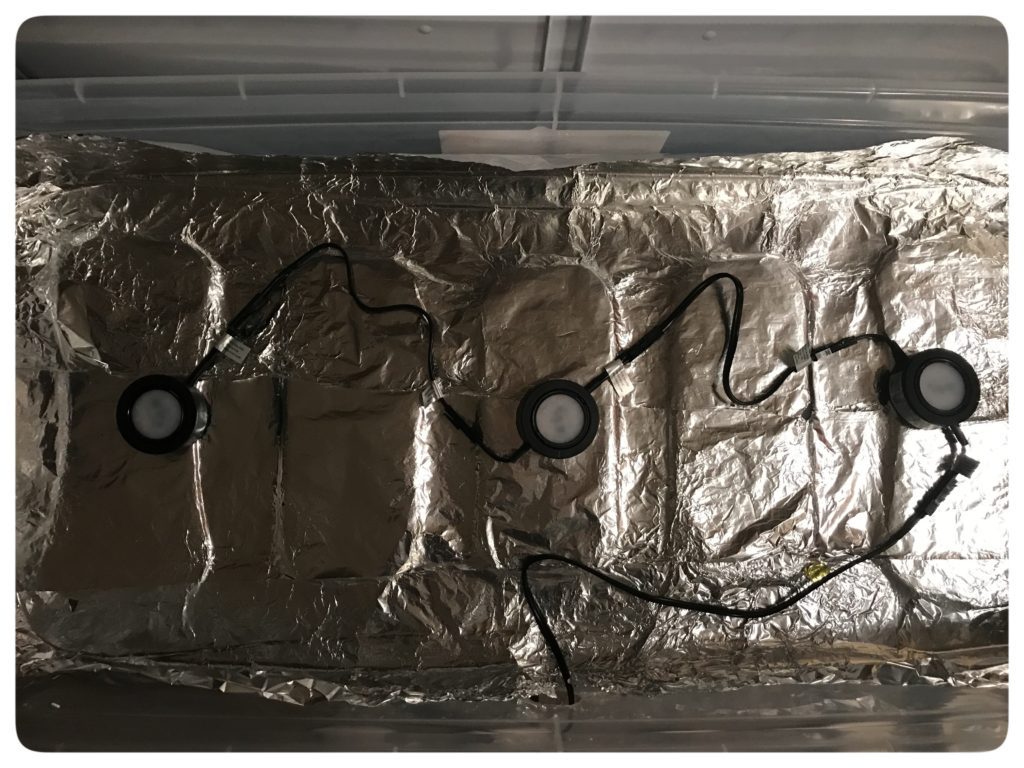
- Line your shallow storage bin with the foil. This help keep the light inside and reflects to make the white “table top” brighter. Make sure you get all four sides and floor of the container. 2. Connect your lights, allowing them to be spread out a little bit so the light is dispersed evenly in the storage bin (above).
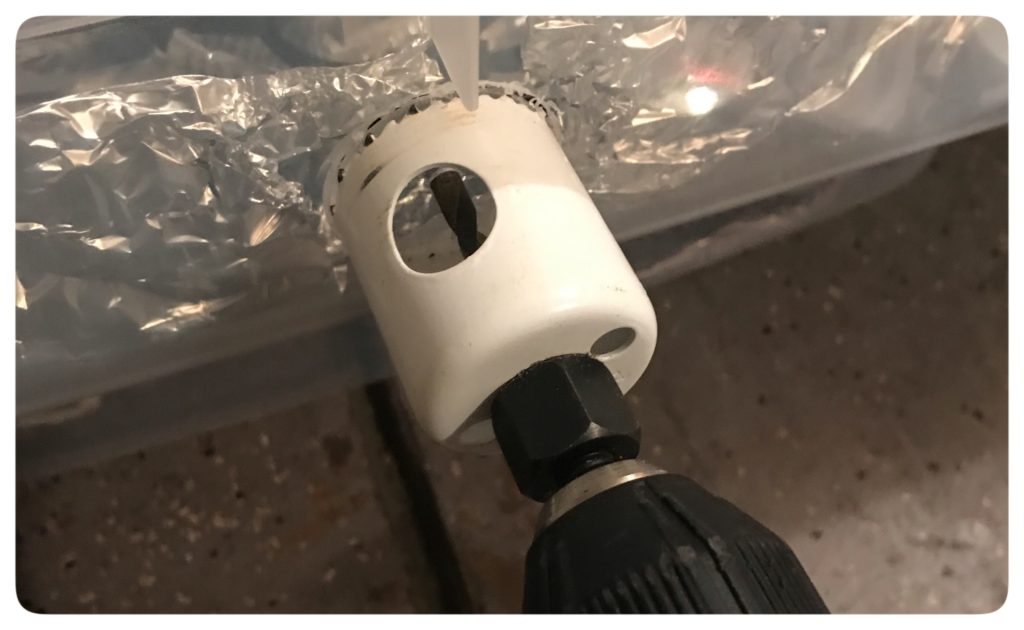 3. Using your drill and bi-metal hole saw , drill a circle in the storage bin so you can feed the cord through and plug it in easily. I put mine in the middle, on the side of the bin.
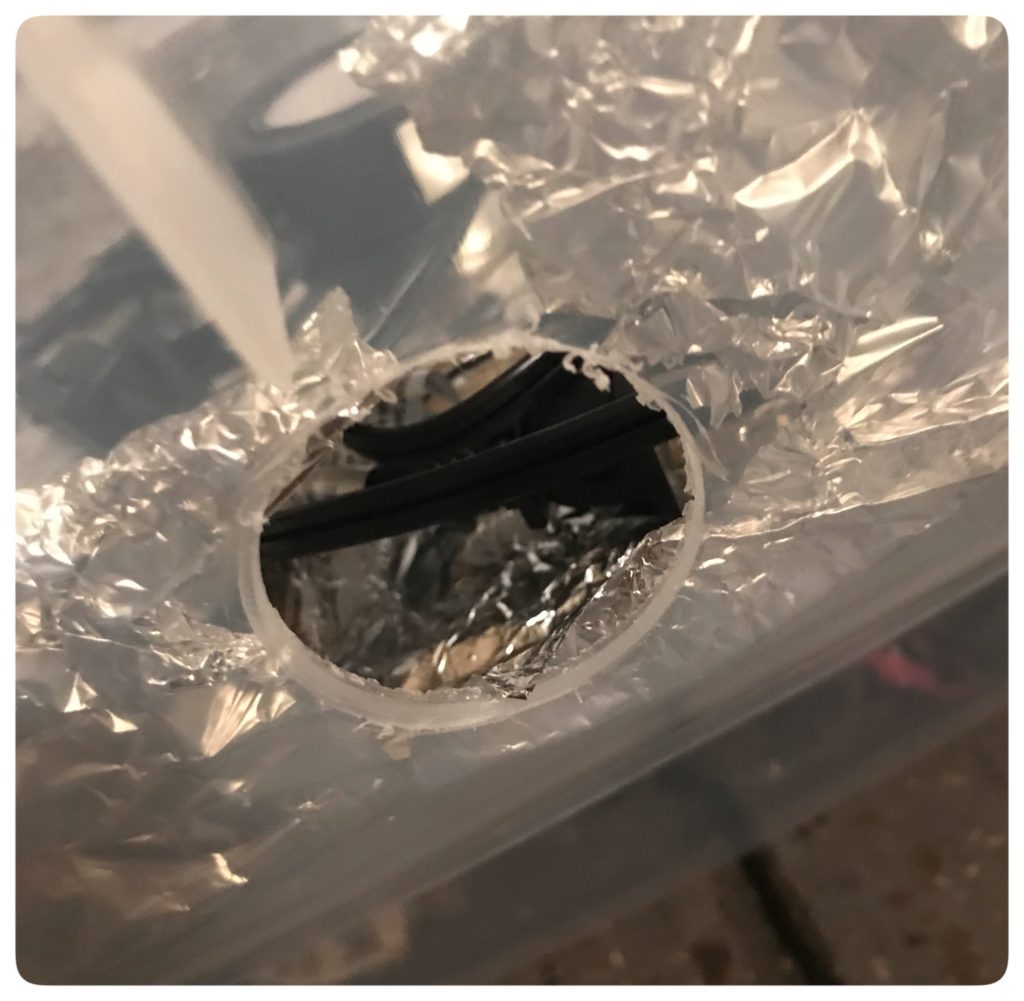
4. Once you feed the cord through, plug in the lights and turn on the switch to make sure everything works okay.
 If you want you can attach the lights to the bottom of the storage bin any number of ways. I didn’t do that because I wanted to be able to reuse the bin and the lights for something else if I wanted later down the road. You could probably use Velcro if you wanted to get the puck lights to stay put.
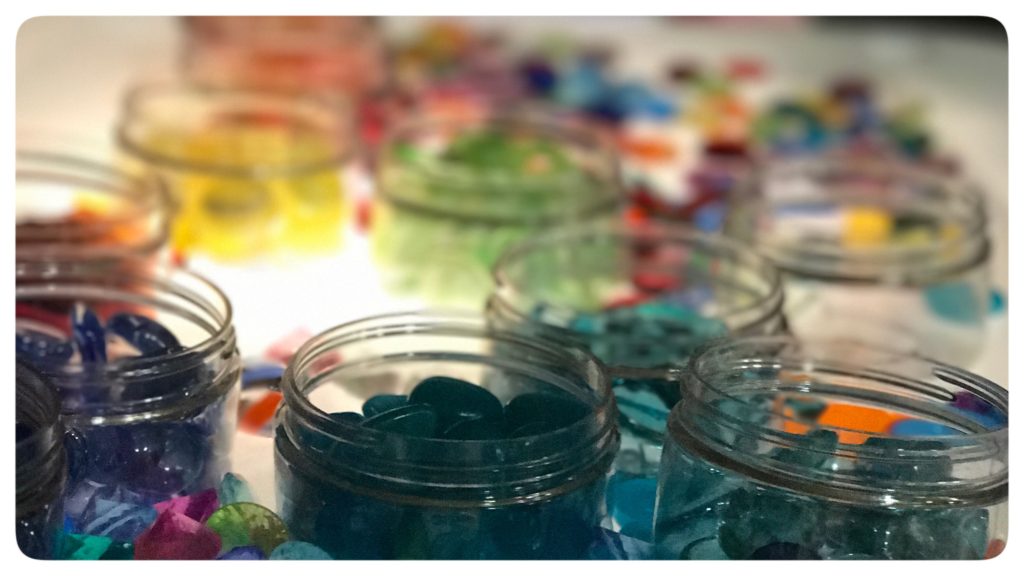 Seriously, that’s all there is to it. No kidding. Five minutes. This has provided so much entertainment/fun for my classes. I like using the LED lights because they plug in, and they don’t get hot so that’s one thing you don’t have to worry about. Remember, however, the manipulatives can be pretty small, so for young children who like to put things in their mouths, you really need to watch them carefully. This hasn’t been a problem for us — the kids are so excited to use the table and see the stuff on the light table, none of the children has even tried to put something in their mouths. The children are really getting into making their own designs with the different manipulatives we have for the light table. I like to watch their creativity blossom.
Also remember you can probably make yours cheaper than mine (I already had all the fun stuff for the kids to use on the light board), but I spent right at $45 for my light table for six children. You may not need that much space, which will cut down on the price of lights and storage bin. But think about this: For $45 you can make a light table that takes no real handyman skills, that seats up to six kids, that’s portable. I think you would be hard-pressed to find a light table that meets all that criteria. If you do decide to make your own light table, please send us photos so we can post! I would love to see them. I will be doing more light table posts in the future (more ways to make them, on a budget, where to get the items that go on the light table). Have fun with this project! Build a fort! Sit in the dark with your kids and play on the light table. Its one of those activities I find relaxing and calming — might be a good activity for the kids right before bed!
*This post has affiliate links.

5 Responses