

Looking for the perfect recipe for salt dough ornaments? Look no further! This spring my art therapy students are working on a new project, which so far, is SO MUCH FUN! We’re making jumbo buttons from salt dough (the same salt dough we used to make our holiday ornaments) and then using ribbon to string them all together, possibly into several long strands (we haven’t gotten that far yet!)
You’ll Need:
4 cups flour
1 cup salt
1 1/2 cups warm water
nonstick cookie sheets
jumbo smoothie straws (I got mine at Big Lots)
rolling pin
one cup measuring cup
large bowl
spoon
something round to use as cookie cutters (decide what size works for your project). I used margarita glasses and smaller juice glasses for two different sizes.
Preheat oven to 300 degrees.
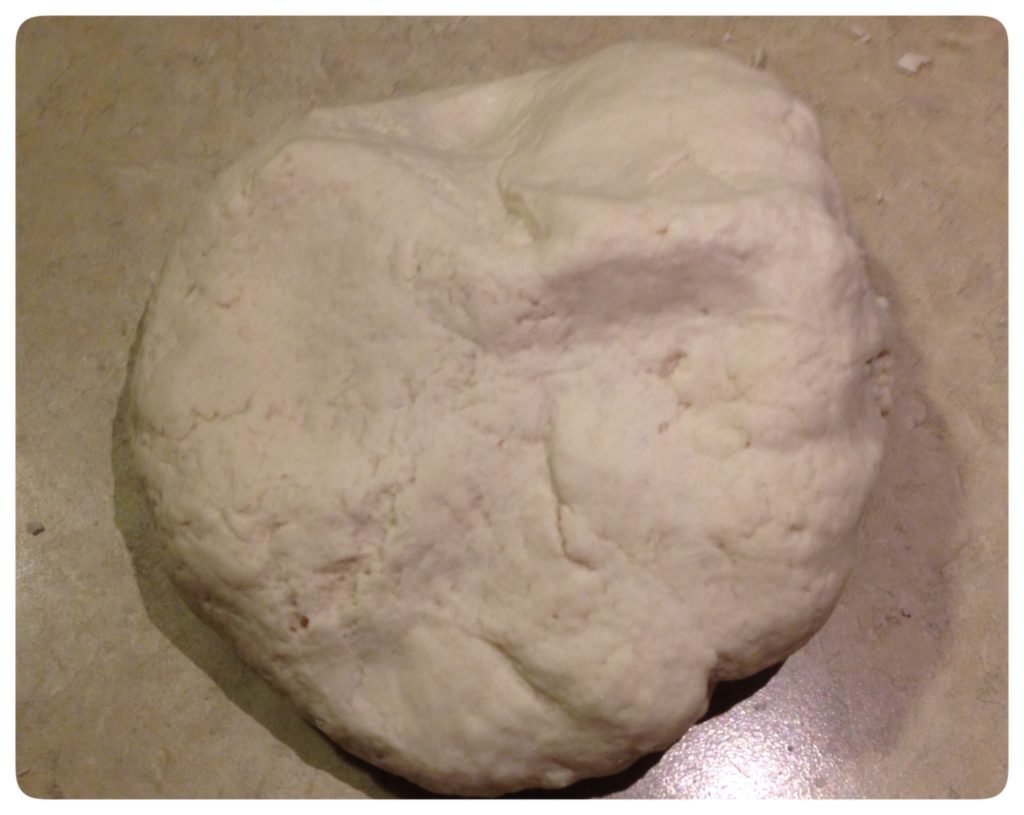
Mix the flour and salt together and then gradually add your warm water. You may need a little extra water on standby to add to the dough to get it to a good consistency. You want it to stick together, but not too sticky. You should be able to use your hands and squish most of the dough together and make it into a giant ball (by the way this is also a great sensory activity — plenty of sensory input!). When I get to this point I use a little flour on my fingers and coat the ball of dough with a little flour. It helps to prevent sticking.

Start rolling the dough out on a smooth surface like a counter top. Some people like to use parchment paper or a mat between the dough and counter top, but I like it right on the counter. It’s really a personal preference. You may need to add a little flour to keep the dough from sticking to the rolling pin or the counter. Roll the dough out until it’s a little less than a centimeter thick.
**Rolling out the dough can be a great sensory activity. Students with body awareness issues can really benefit from this type of activity.
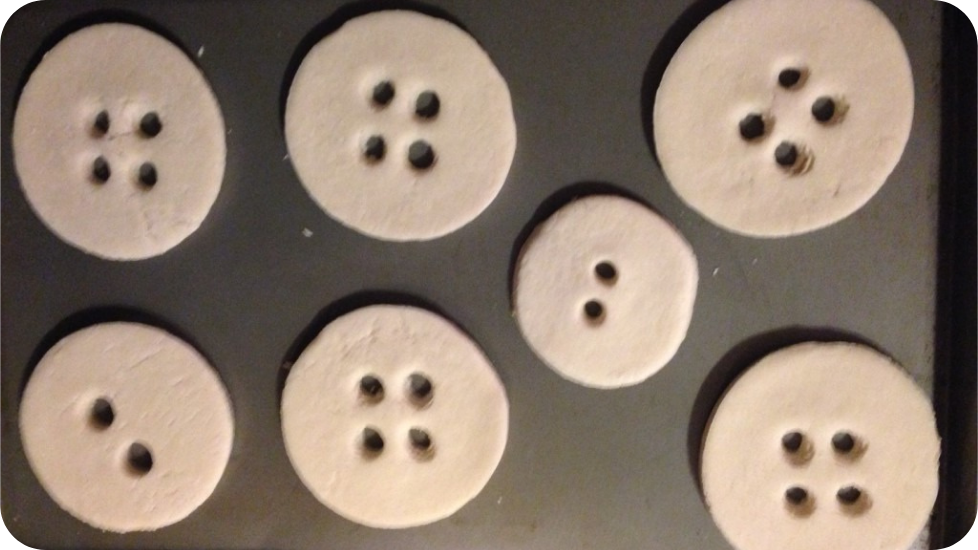
If you’re rolling the dough and you notice it starting to stick, add a little more flour to gently cover the dough. Once you have it rolled out, use your glasses or whatever you choose to use to cut the circles and place circles on the cookie sheet. When cookie sheet is full, use the giant straws to make circles in the middle of the buttons. One thing I did was after using the straw to get my center circles, I would just cut off the excess where the dough gets stuck so I can have clean cuts again.
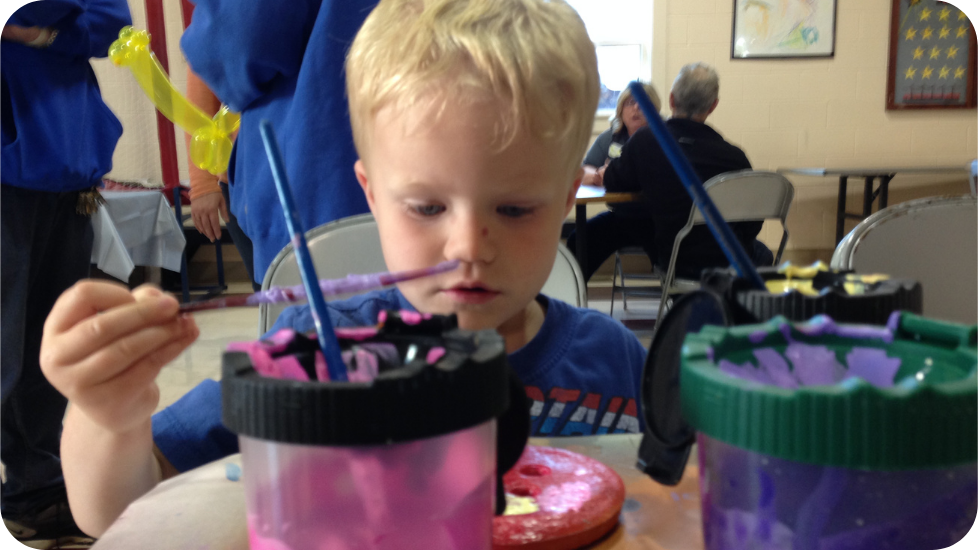
Put in the oven and let them bake 60 minutes. Remove from oven to cool. Paint them, decorate them however you want! You may want to use glitter and glue, different kinds of paints (we used spray paint, acrylics, and some tempera), whatever you can think of. Once we got our salt dough buttons painted, I used a spray gloss clear sealant to protect them and give them a little shine. I will post again once we start stringing them together.
**Note: There are affiliate links in this post.


One Response