
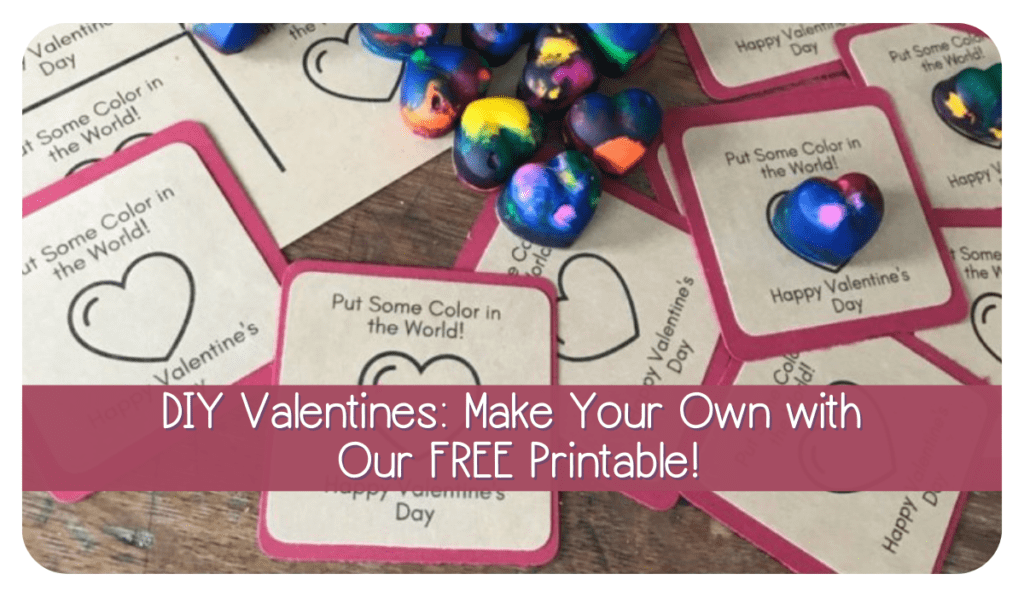
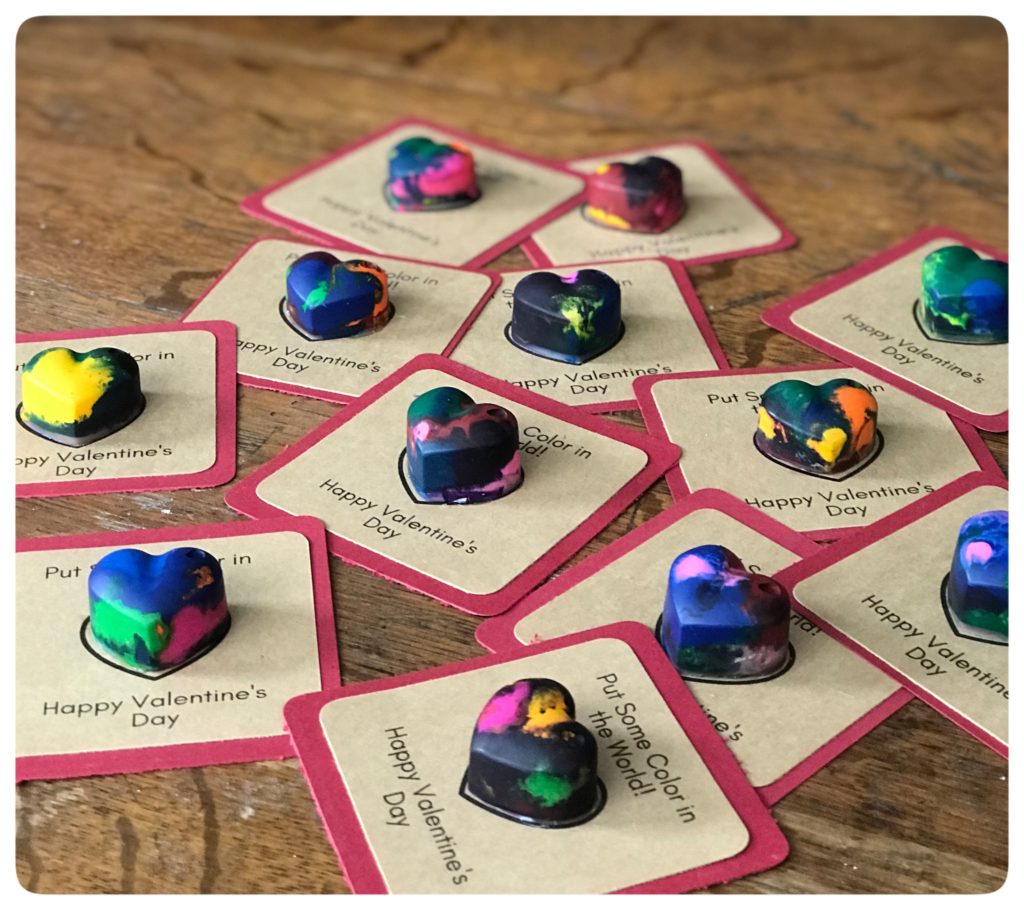
Just finished making the cutest DIY valentines for a friend’s kindergarten class. I whipped up a template you can download for free, to make it even easier. These were fun to make and I think they add a little something extra, especially if you’re looking for something that’s different than traditional candy.
You’ll Need*:
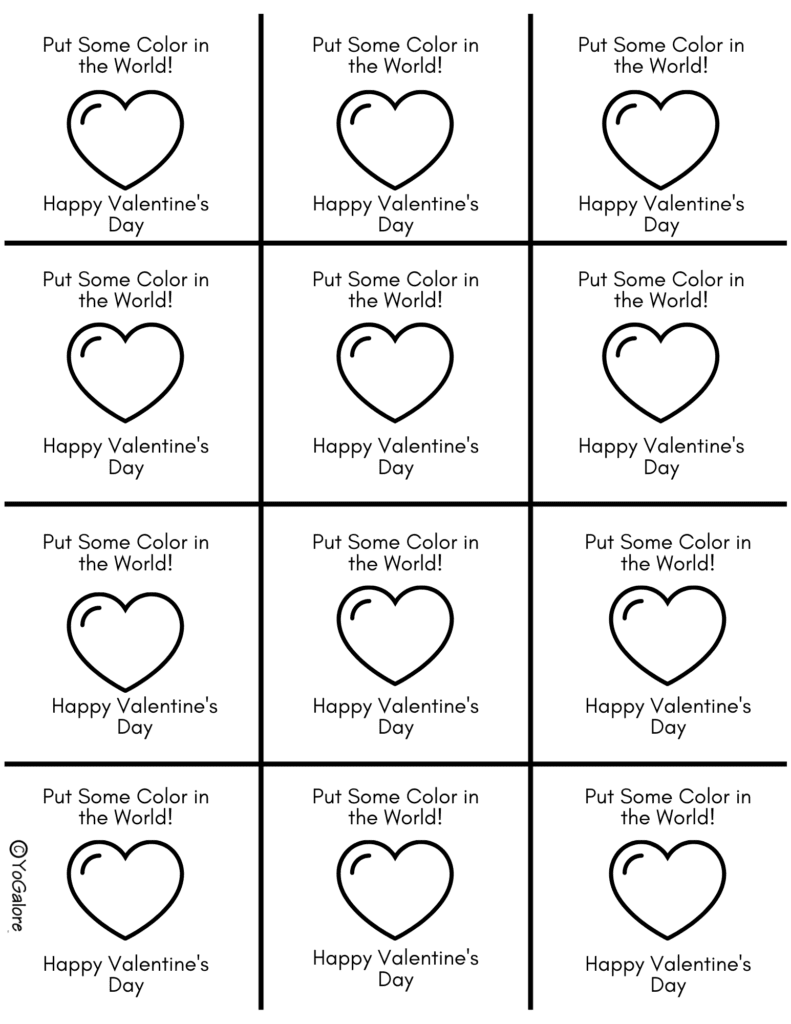
FREE printable template (click on the link to download the .pdf and print)
old crayons, about 15 to 20 crayons, possibly more if they are mostly used or already broken with paper peeled (I used an X-acto knife to cut a seam to peel off)
small heart silicone mold (my mold has 15 cavities, they’re a little smaller than an inch in diameter at their widest point)
rubber cement
cardstock (I used craft paper cardstock)
Optional:
addtional color of cardstock if you want a border around your valentines
corner rounding thumb punch
paper cutter
1. Preheat oven to 230 degrees.
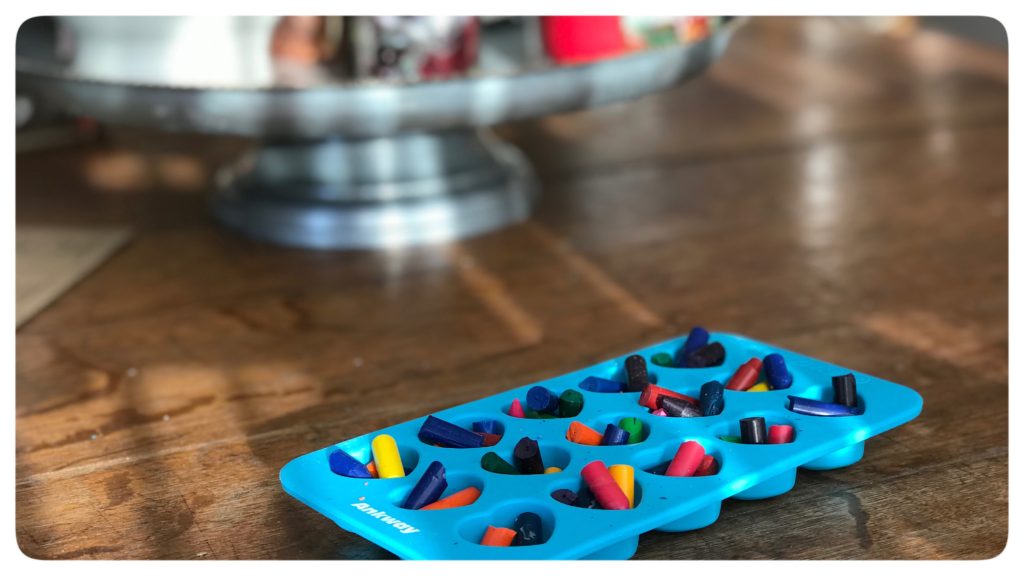
2. Peel your crayons and break up into the smallest pieces you can manage.
3. Place small pieces into your molds. It’s okay if pieces are sticking up past the rim of the molds. Just try to have those pieces not touch the sides of the individual cavities. Once melted they may run onto the mold and not melt into the cavity itself.
4. Place in oven. I used a layer of foil under mine for stability. You can probably use a cookie sheet, I just chose not to do so. Cook for 15+ minutes. Some brands of crayons take longer to completely melt than others. I had to cook mine longer, a little more than 20 minutes. I just kept adding a few minutes after each check until the crayons were completely melted.
5. While your crayons are melting, print out the template onto your cardstock and cut just inside the lines so they won’t show. I used a small paper cutter. Then I cut additional red squares slightly bigger than the average size of the individual valentines to put behind the craft paper for a border. Glad I did because it helped for stability, more on that later. Then I used the rounded corner punch on the craft paper squares and the red squares.
6. Allow to cool completely and then pop the hearts out. If you’re using two layers of paper like I did, go on and glue the printed piece onto the border piece. Attach the hearts to the cards using rubber cement. Not sure what other kinds of adhesive will work, I used this because I had some handy and I knew it would peel off the crayon easily when removed.
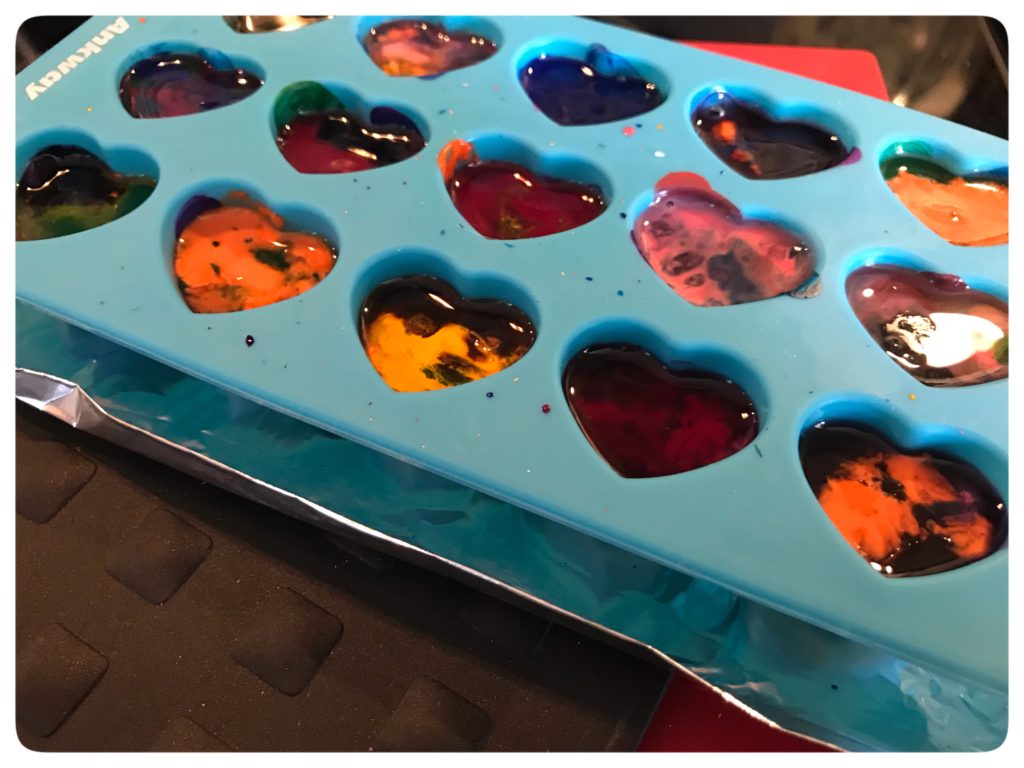
NOTE: If I had it to do again I would not have added crayons to the hearts once most of the crayons had melted. I did that about 10 minutes into the melting process because the molds were only filled about halfway once the crayons melted. I regretted it afterward because I didn’t take into consideration that the thicker the shapes were, the harder it would be for them to attach well and stick to the cards. Had I left things alone, they would have been half as thick, which would have worked better, I think. So that’s why I didn’t mention that step above.
*There are affiliate links in this post. If you should click on a link and make a purchase, I receive a small percentage of that purchase at no additional cost to you. I appreciate your support!

One Response