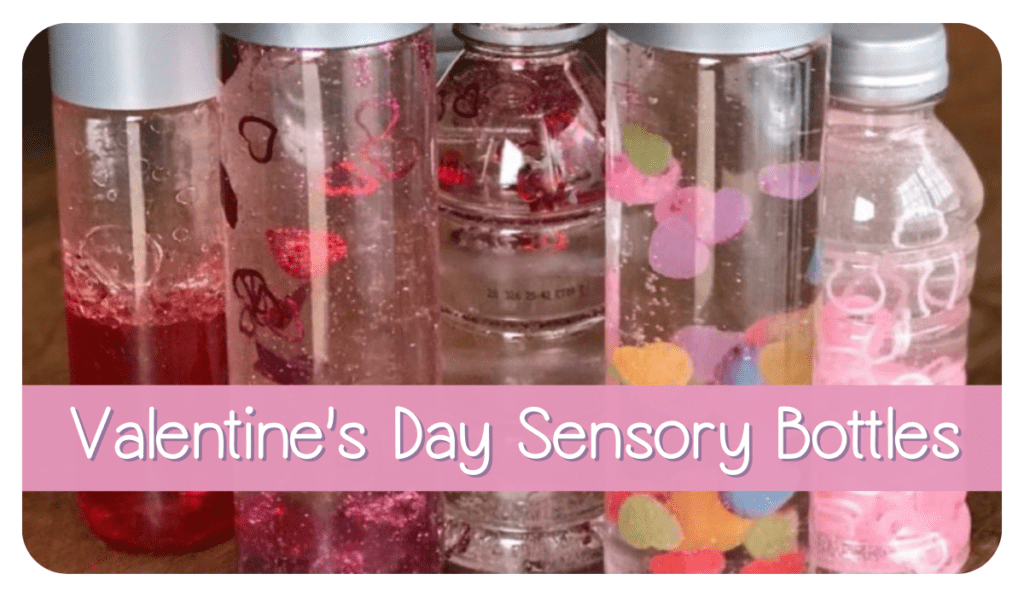
You know how much I love making sensory bottles, so I thought Valentine sensory bottles would be a fun activity to do with the kids — especially if you’re at home and are in need of something creative and sensory-related. I made a set of five sensory bottles, most of the things I already had here at the house.
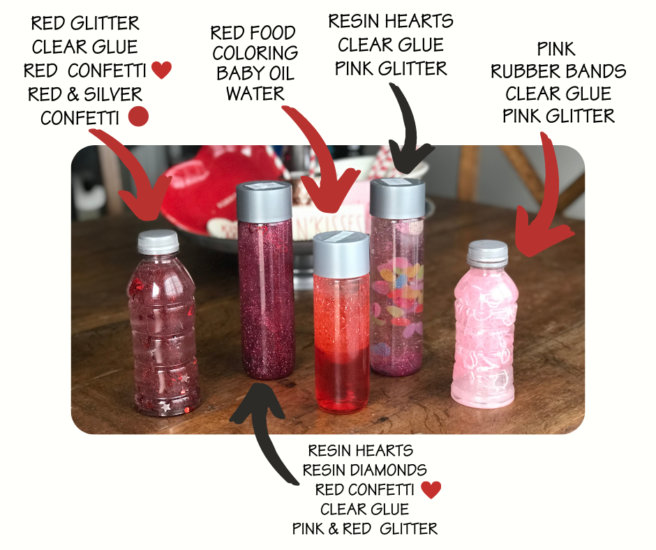
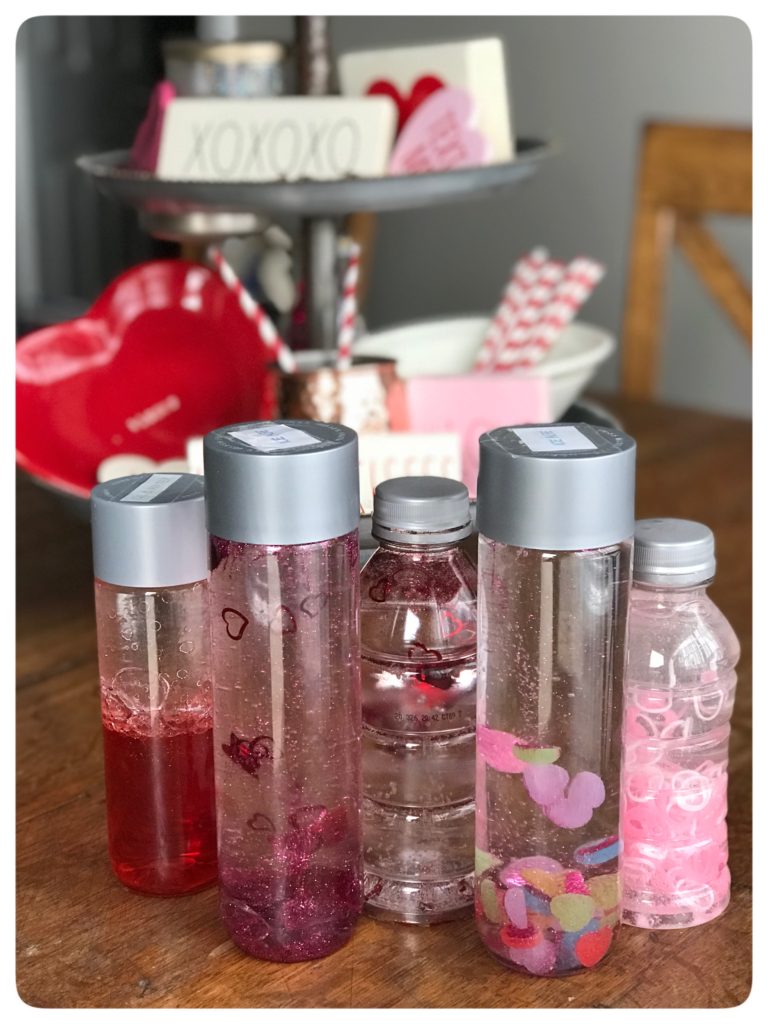
Here are the sensory bottles along with their basic ingredients. They also have some water in them as well, I just didn’t include that on the graphic:
About Bottles to Use
A few notes about bottles. Of course you can use regular water bottles. Just know they aren’t very thick and aren’t that durable. I have changed my opinion slightly regarding the VOSS water bottles. They are beautiful and sleek. They are thicker and more durable than the standard bottles of water you buy at most places. That being said, I have also become a fan of the BodyArmor bottles. The drink itself is fantastic (I like the Lyte flavors). I drink a lot of them (which means I have a lot of bottles to use!)
The BodyArmor drinks come in two sizes — 12 and 16 oz. These bottles also make great sensory bottles, especially if you have younger children (toddlers). In my experience so far, the 12 oz. BodyArmor bottles can withstand the trauma of dropping and throwing better than the VOSS bottles. I have had several VOSS bottle lids chip and break when dropped from the hands of a darling toddler.
If you have a little one, the BodyArmor bottles might be a better choice for you. The 16 oz. Body Armor bottles are also very durable, however, the 12 oz. size fits better in little hands. The BodyArmor bottles aren’t as long and sleek as the VOSS bottles, so you can decide what your needs are and also availability of what you might already have.
Filler
I use clear school glue as my main filler. It has it’s pros and cons, but for the effect that I like, I prefer the clear glue over other thicker substances like hair gel. I like the things in my sensory bottles to rise and sink slowly, like a lava lamp. If you just use water, your items will of course move more quickly, but they also tend to do so in a big clump (but not always).
If you use a lot of glitter and confetti, you will need to use a little more than you think you should. If you don’t use your sensory bottle for awhile, some of the glitter and/or confetti can get stuck on the bottom of the bottle if you use clear school glue. So I compensate for that by adding a little more glitter and confetti than I normally would.
Four of my Valentine sensory bottles use clear school glue. The remaining bottle (the one that is clear at the top and red at the bottom is 1/2 baby oil and 1/2 colored water).
For the valentine sensory bottles that use clear school glue, I usually do half glue and then slowly add water and cover and shake to get the consistency I like. For me, this usually is about 2/3 part school glue and 1/3 part water.
To make these particular sensory bottles, you’ll need the following items*:
- empty water bottles (VOSS, BodyArmor)
- clear school glue
- heart confetti
- red dot foil confetti
- fine red glitter
- fine pink glitter
- pink rubber bands
- baby oil
- resin hearts (multi-colored)
- resin hearts (red, pink)
- glue gun or strong adhesive to glue lid on
*There are affiliate links in this post (above). If you click on one of these links and make a purchase, I will receive a small commission at no extra cost to you.
If you are looking for a more scientific activity, try making sensory bottles with different “fillers” (liquids) and items in the sensory bottles that are weighted differently and talk about how the denser liquids slow things down, while less dense liquids allow things to rise and fall faster. Another idea is to try different items in the sensory bottles and learn which ones float and which ones sink.
Have fun and happy making!