
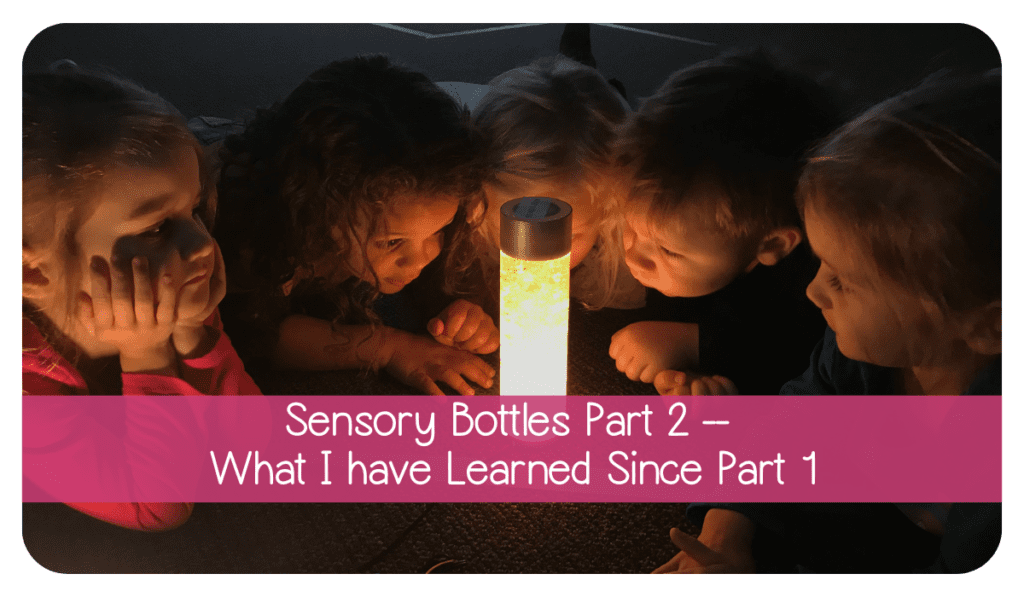
Quite awhile back I wrote a post on making sensory bottles. I have made MANY since then and I wanted to share some more tips to help you get the kind you want, or the the kind you may need. Of course it’s a great activity to do with your child and to let them combine things they want to, but you may not get exactly what you were hoping for as a finished product. The actual ingredients and info about bottles and the specifics can be found in our Sensory Bottles Part 1 post.
The Things That Haven’t Changed
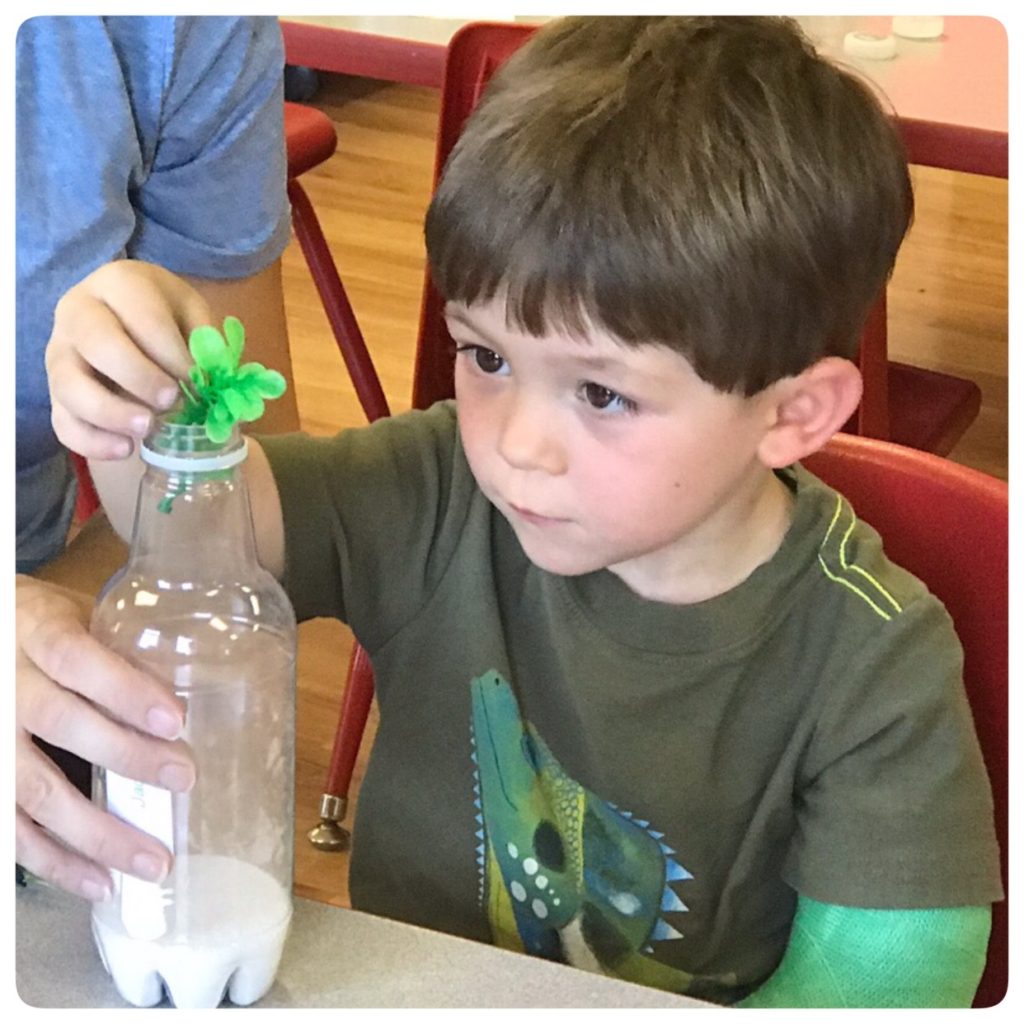
1. I still prefer VOSS water bottles.* I think they hold up the best and they have a wider opening up top than most other water bottles have. They also come in a couple of sizes which is great for my toddler friends — the smaller bottles are a bit more manageable for them. I will say I am a recent fan of Body Armor drink bottles and these have also made pretty good sensory bottles. They come in two different sizes (12 and 16 ounce). The 12 ounce are the best for very small toddler hands. They’re the perfect size and still have a wider than average opening.
2. I still use my heavy duty adhesive to glue on the lids to ensure they don’t come off. This glue is very strong and has a smell to it, so if you do use it, wait until it’s completely dry to give to a child so the smell is gone. You can also use a glue gun, which does work relatively well.
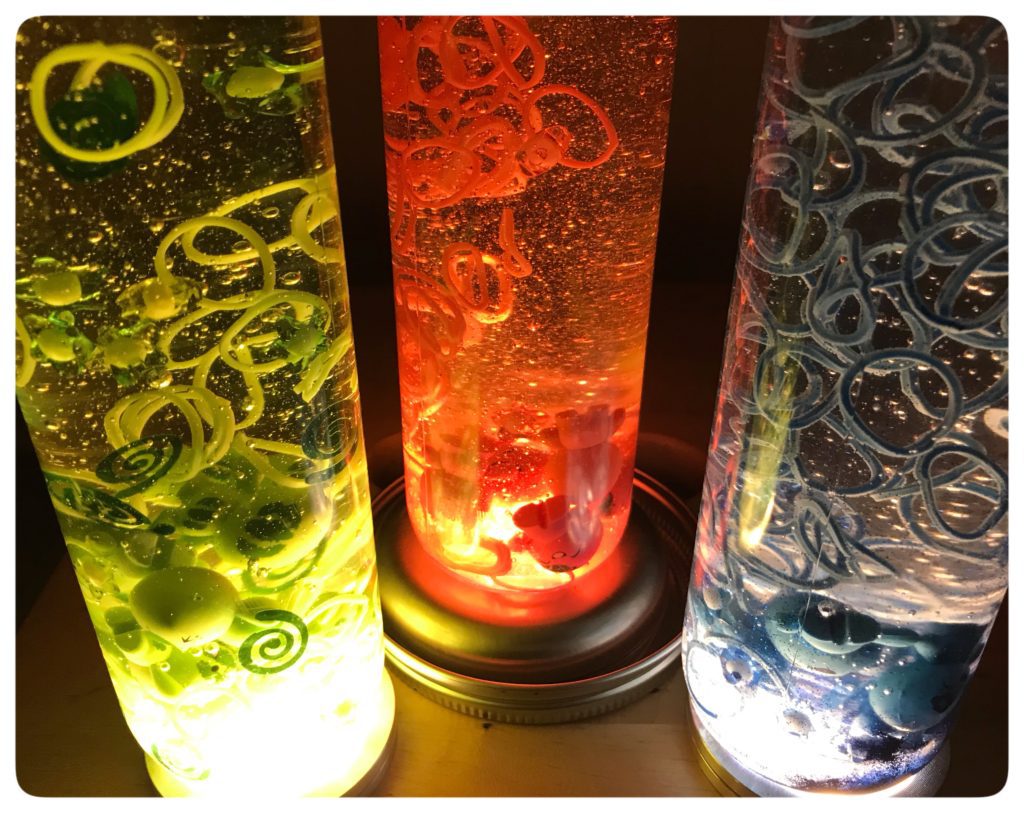
3. I still prefer gel food coloring to add color to my sensory bottles. There are so many bright vivid colors and you can make/mix so many additional colors, which I happen to love. Lately though, I put most of the color in the objects in the bottles and not the liquid.
Things I Do Differently Now
1. I don’t use cooking oil anymore, which I did on one or two last time. I now have alternatives that I like so much better and they’re clear, which I like better anyway.
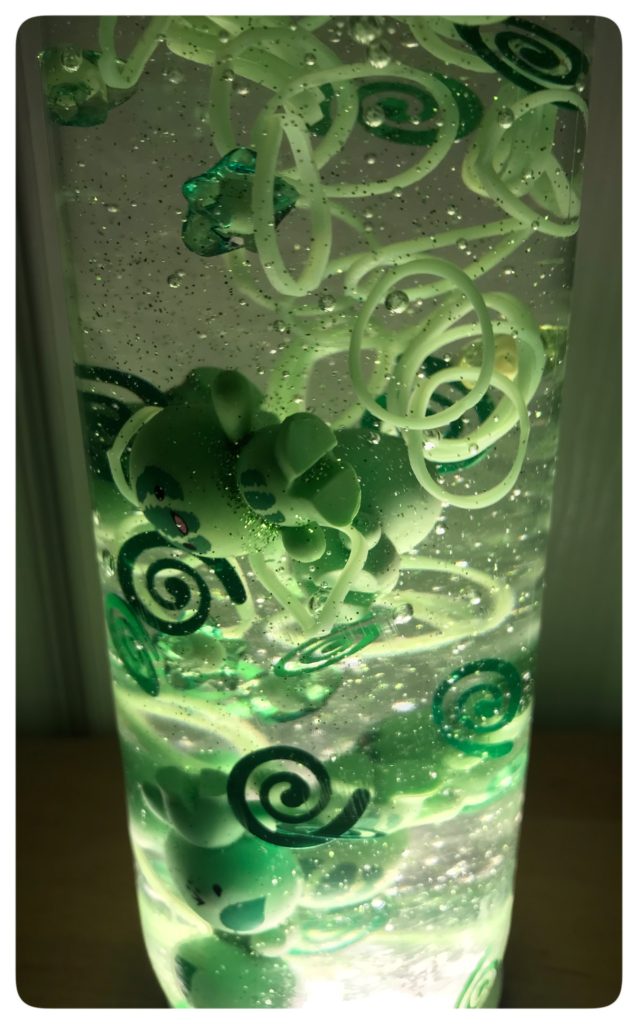
2. Clear school glue is my current go-to for making my sensory bottles. It’s just a personal preference. It’s thick and dense and makes objects inside move slowly. Some float and some sink, and for me, it’s more relaxing to watch. If I want to have objects move more quickly, I’ll just add more water than I normally do.
3. I now always use a funnel when making sensory bottles and its much easier.
Our Favorites
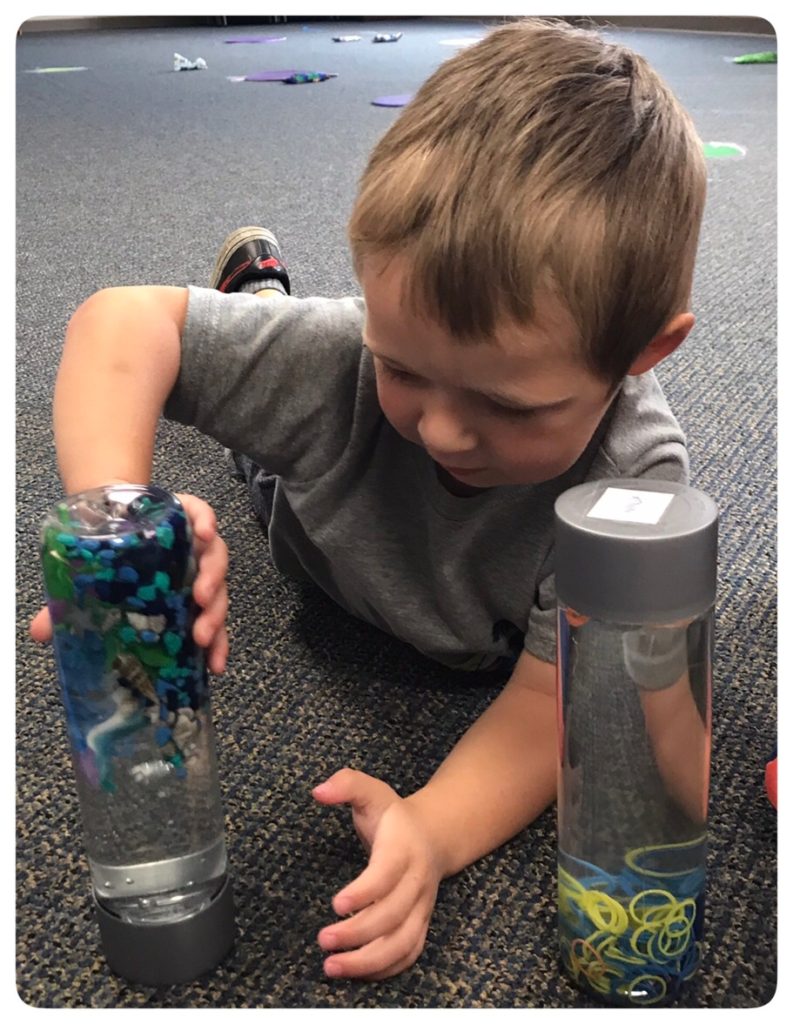
My latest fave has been using various colors of rubber bands (the kind used in bracelet making). There are so many colors and they can be used in various themes. I made a ninja-themed sensory bottle and it looked great with the little ninjas and the rubber bands. It varies on what my students like — some like the themed bottles like dinosaurs, mermaids, unicorns, superhero, etc. That being said they also love to watch the glitter, confetti, and glow in the dark star beads. They enjoy picking a different bottle each time we get them out for Rest & Relax.
Happy making!
*there are affiliate links in this post

5 Responses