
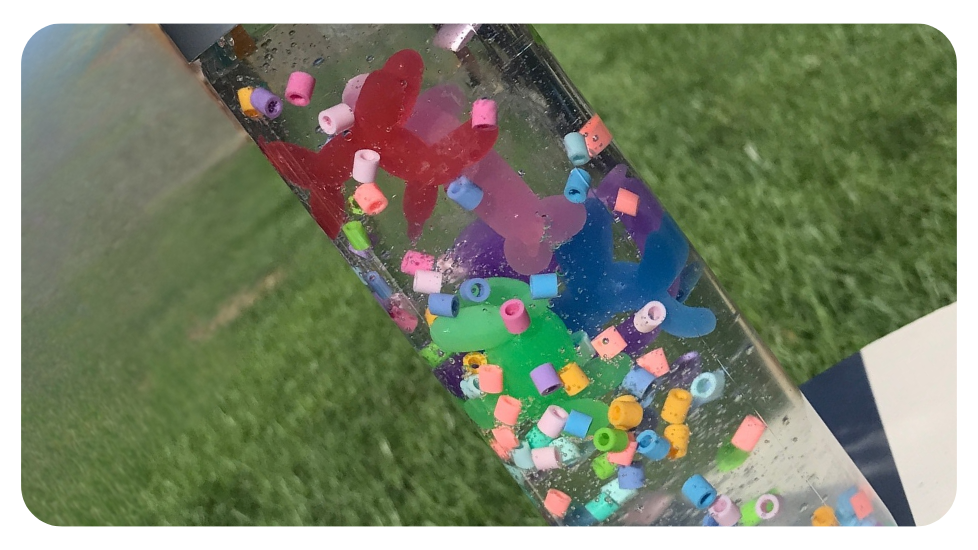
Sensory bottles are not only fun to watch and play with, they can be fun to make too! Here are a few ideas on how to make and benefits of sensory bottles. Sensory bottles are plastic bottles with any number of liquids and substances in them that are fun to shake and watch. They can be used as a wonderful tool to help your child self-regulate when they start to have a meltdown.
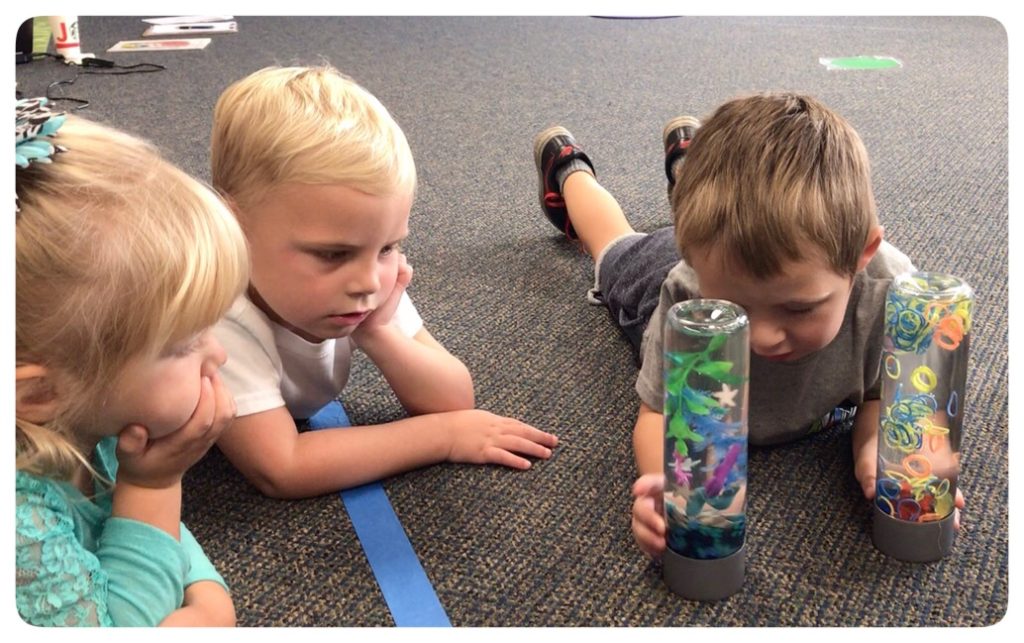
About the Bottles
Make sure you’re using sturdy plastic bottles that are BPA-free. Over the years, I’ve tried several different bottles for sensory bottles, and I’ve definitely developed some preferences!
These days, these are the bottles I use most often. They’re durable, slightly less expensive than some of the bottles I’ve used in the past, consistently available, and come in several sizes. I especially like having different size options when I’m making sensory bottles for younger children and smaller hands. Here are the smaller bottles I like for my toddler friends. They also arrive empty and ready to use—no labels to peel off and no sticky adhesive to remove. That alone makes prep so much easier when I’m making several bottles at once.
I also prefer bottles with a wider opening. It makes filling them much easier and gives you more options for the objects you can add inside.
Tip: If you’re making sensory bottles for the first time, you can always practice with an inexpensive plastic bottle before using the bottles you plan to keep.
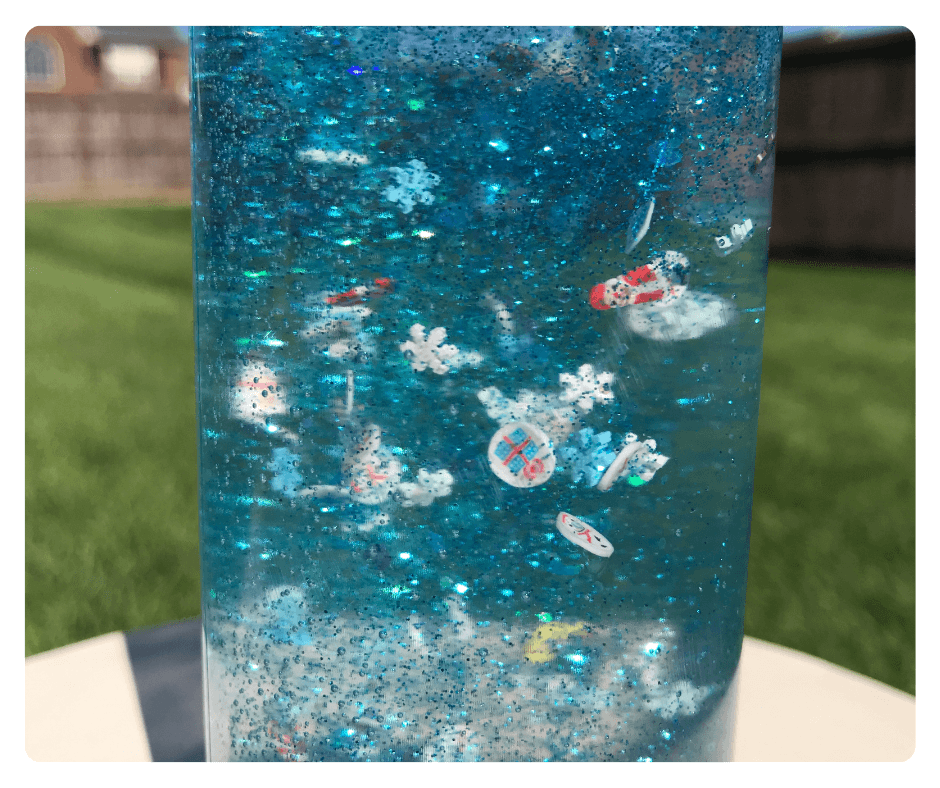
I don’t give you exact measurements that I used — remember that a lot of this is trial and error and personal preference. You might want your liquid thicker than mine so you would use a little more gel or glue and less water, so know these aren’t exact recipes. And lastly, if possible, make these with your kiddos. The process of making the sensory bottles can be very beneficial in itself and they can help decide what things to put in their sensory bottles. It gives them a sense of ownership which might encourage them to use them.
My Basic Sensory Bottle Recipe
There really isn’t one exact recipe for making a sensory bottle. You need a bottle, water, something to slow down the movement of the objects inside, and whatever small items you want to add. Over the years, I’ve tried hair gel, mineral oil, baby oil, clear school glue, glitter, confetti, food coloring and all kinds of little objects.
After making a LOT of sensory bottles, though, I’ve simplified the way I make them.
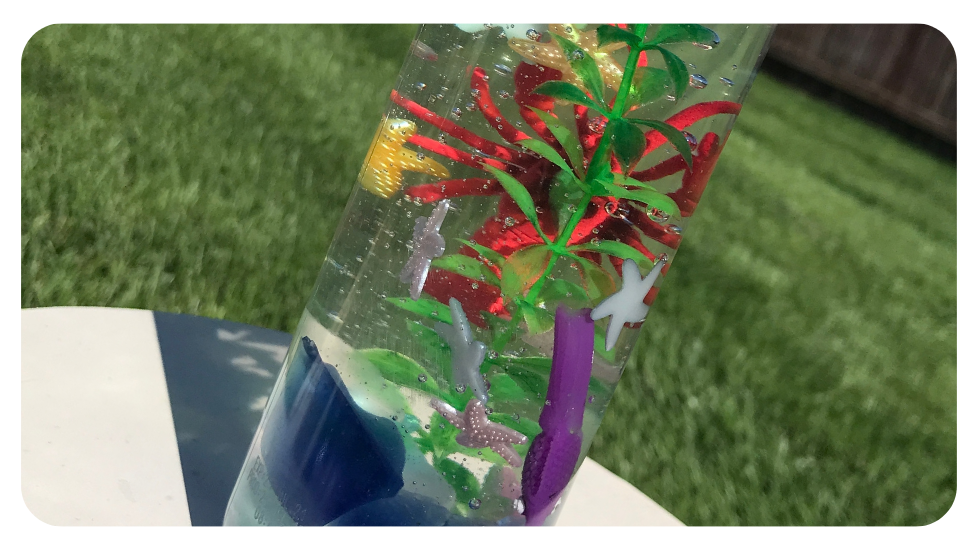
These days, I almost always use clear school glue and water. I usually skip food coloring and glitter and use colorful transparent objects instead. I love the way the light passes through the bottle and the objects, especially when the sensory bottle is used near a window or on a light table.
What I use now:
Standard size bottles I use 12 oz., smaller size 10oz.
Clear school glue (I buy by the gallon, it’s FAR more cost effective for me, but there are varying sizes, brands and prices of school glue. If you plan on making several different kinds and sizes, I suggest the gallon. It goes faster than you think it will!)
Water
Transparent beads, gems, charms or other small objects
Heavy-duty adhesive or a hot glue gun to permanently secure the lid
The amount of clear glue you use determines how quickly the objects move through the bottle. More glue creates slower movement; more water makes the objects move faster. I usually start with 2/3 water, 1/3 glue and adjust from there. It really depends on how dense the objects are that you put in the bottle.
Add your objects and watch what they do before permanently sealing the bottle. Some will float, some will sink, and some will move slowly through the liquid. Experimenting is part of the fun—and one reason I recommend practicing with an inexpensive bottle first.
Other Sensory Bottle Fillers I’ve Tried:
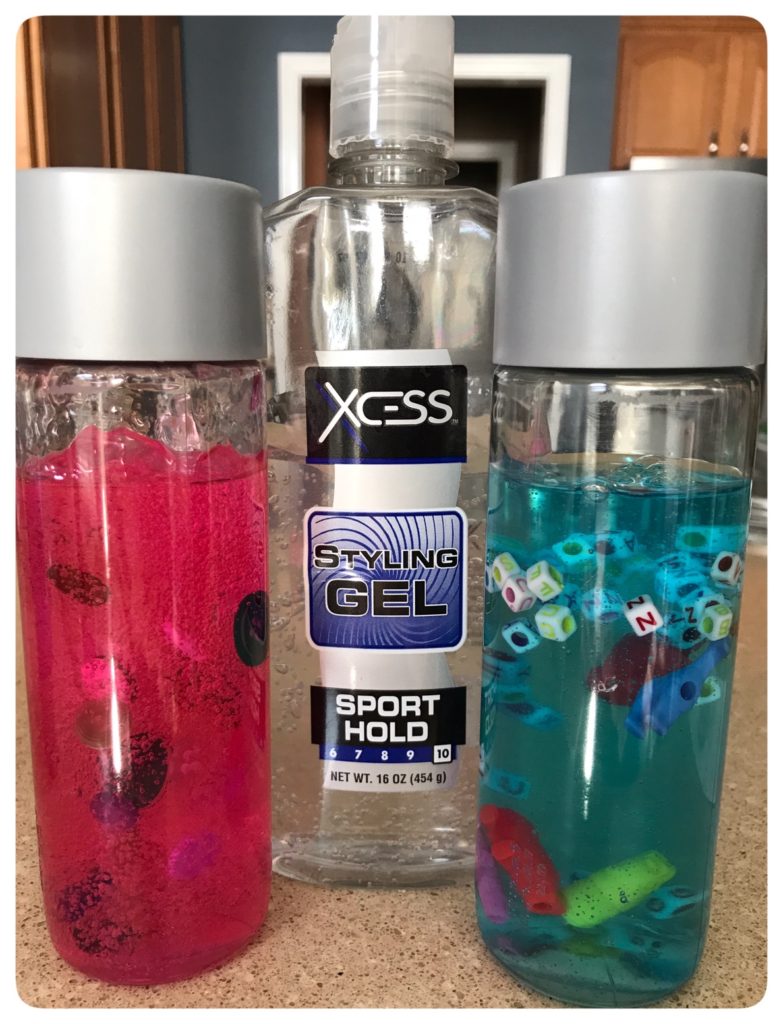 The thick hair gel makes the objects in the bottles look suspended. |
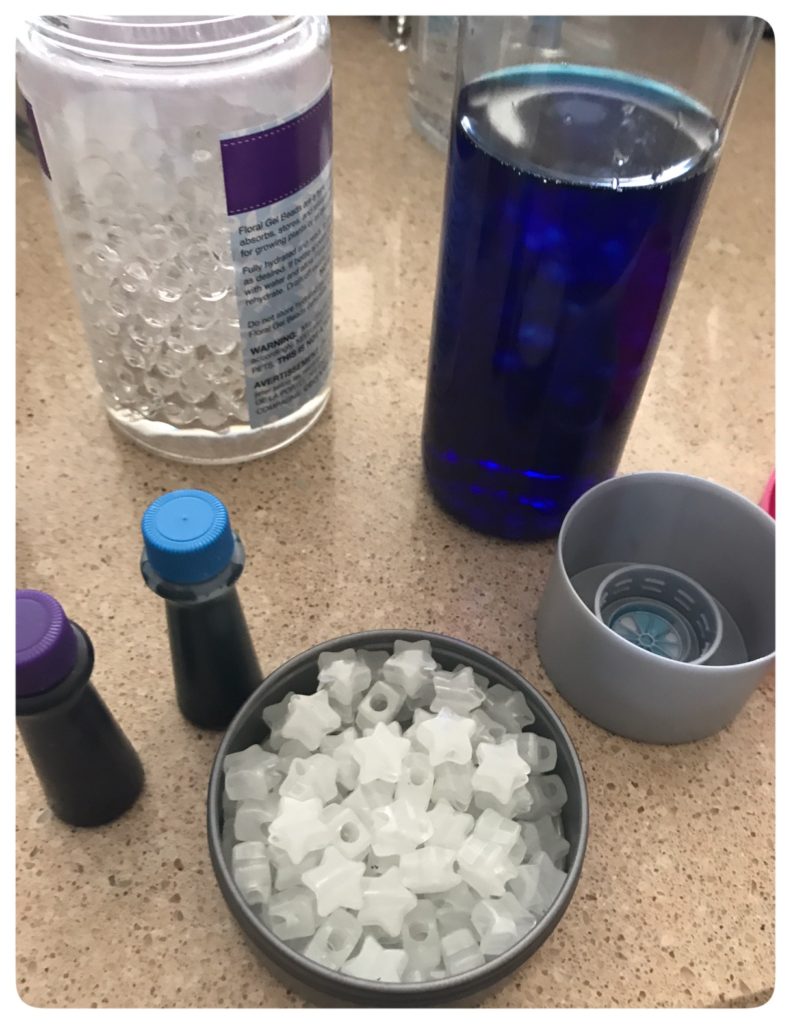 Water beads from the dollar store worked well for our galaxy bottle. |
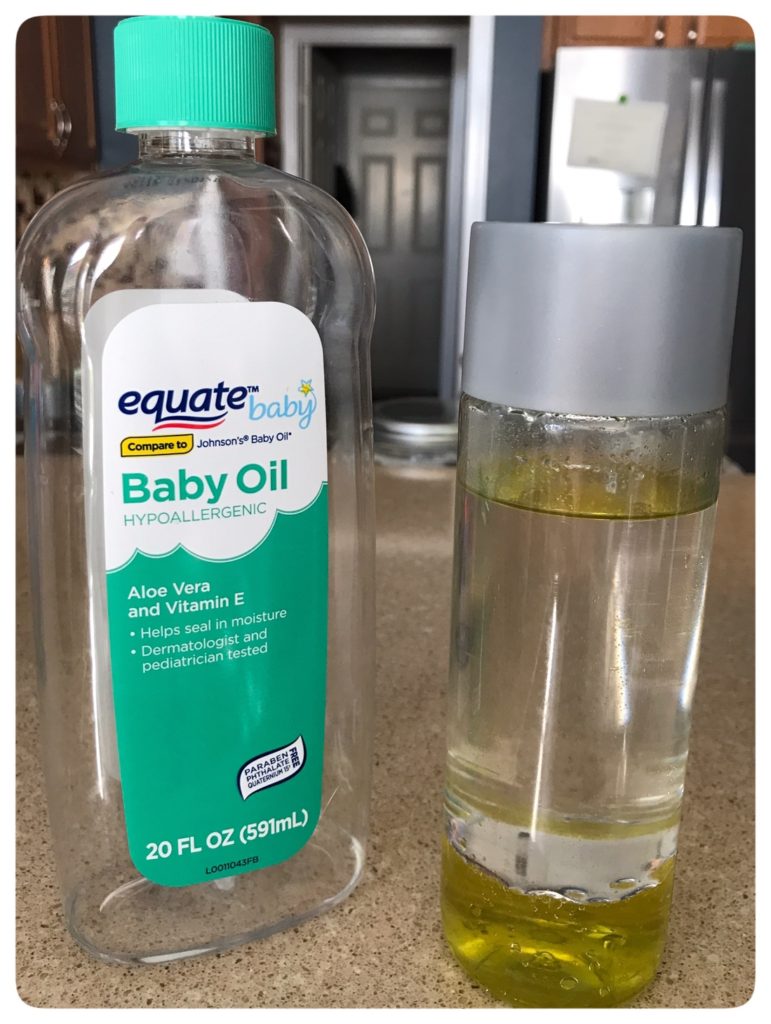 I liked the baby oil a little better than the baby oil gel. |
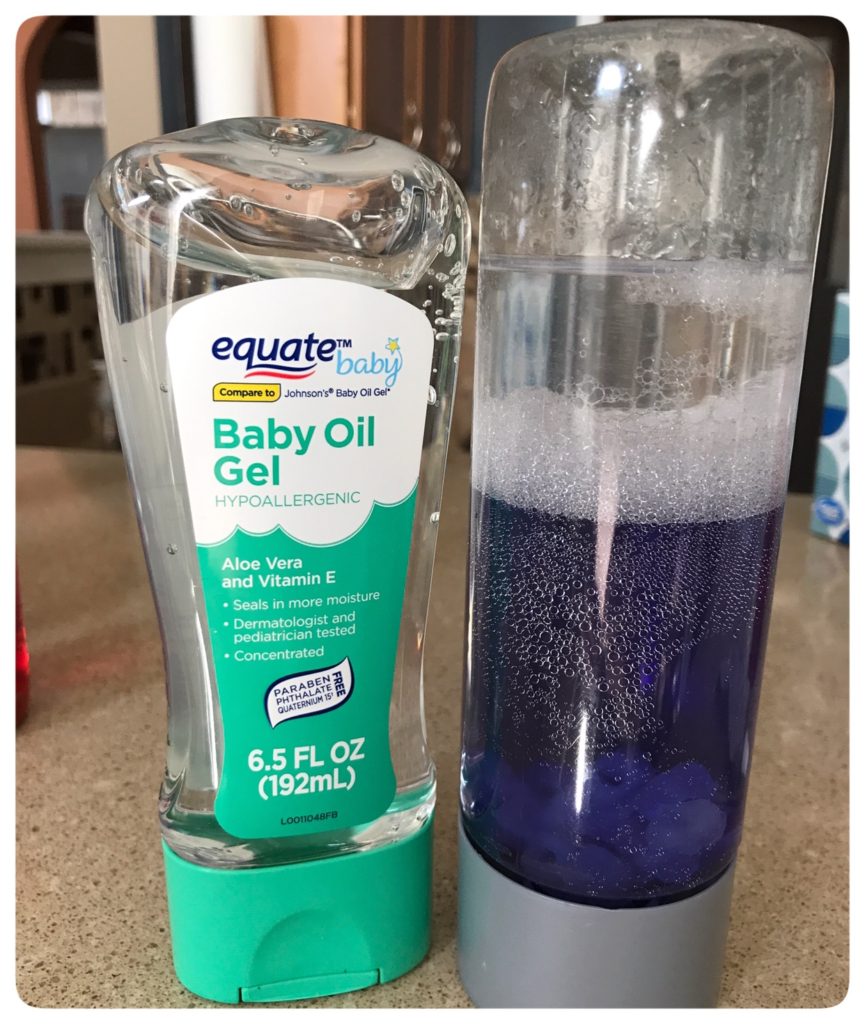 The gel turned cloudy after shaking but eventually cleared up each time. |
Variety is Best
Chances are you aren’t going to make just ONE sensory bottle, you’ll be making several. After keeping better track of what I was doing (yeah, I had to write it down AND take pictures to help me remember what I put in which bottle) you can actually see what I used and what the result was. Try to use all different kinds of things to mix in your water bottles. The more of a variety, the better. Frankly, I think a set of sensory bottles to a little friend as a gift or in an Easter basket would be such a fun idea! Here are some of the sensory bottles I made along with pictures so you can get an idea of the consistency and colors.
For more information about making sensory bottles, click here.

13 Responses