Sensory Bins : General Info
Sensory bin activity kits are a great experience for children (and adults too!). If you aren’t sure what they are, we have a great post that explains in detail.
Rice and Water Bead Combo Sensory Bins
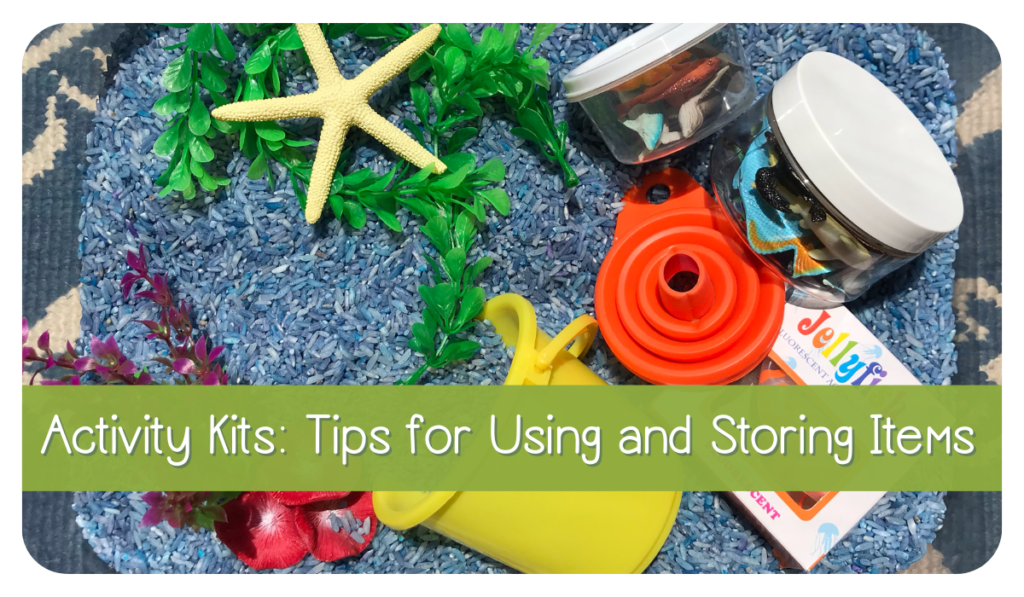
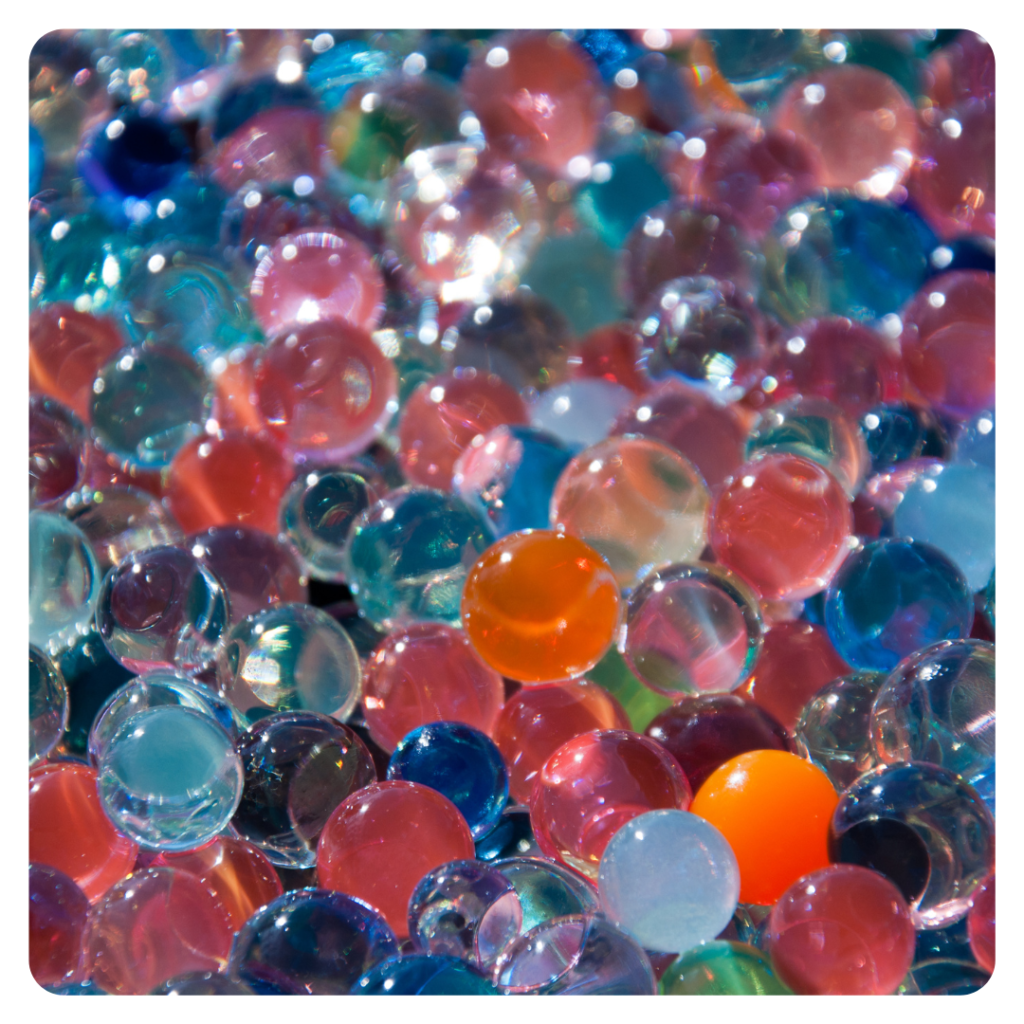
If you have one of the activity kits that has two sensory bin options, the options are probably water beads and rice. Use one of these mediums in your bin at a time. If you use the rice first, make sure your bin is completely clean before you add your water beads. You don’t want rice residue in your water beads. If you use the water beads first, make sure you dry out the bin completely before you switch to using rice in your storage container.
You can reuse both your water beads and your rice. Simply store the rice in the bag provided, make sure it’s sealed and it doesn’t get wet. The color will come off the rice and onto whatever it comes in contact with once it gets wet. Also make sure your child’s hands are completely dry before playing in rice that has been colored. Wet hands will cause the color to come off on their hands.
Water beads can also be used to make sensory bottles, so when your child is finished with the water beads for good, use them to make some great sensory bottles (see “Sensory Bottles” below)
Here is a post about care/storage of water beads:
https://yogaloreandmore.com/water-beads/
Kinetic Sand
Kinetic sand is just sand that holds its shape, so you can use molds and do things with it that you can’t do with regular dry sand. Just store it in an airtight container/plastic bag.
Sensory Bottle Activity Kits
You have several options on what kind of sensory bottles you want to make. You of course can add other things as well, but I wanted to make sure you had some options while making them so they can all be different. Here’s everything you need to know about making sensory bottles broken down into 2 posts:
Click here for Sensory Bottles Part 1
Click here for Sensory Bottles Part 2
You may have received a battery operated LED light for your sensory bottles. The bottles look really neat when you set one on a light.
Playdough Bugs/Dinosaurs
Click here for Playdough Bugs
Click here for Playdough Dinosaurs
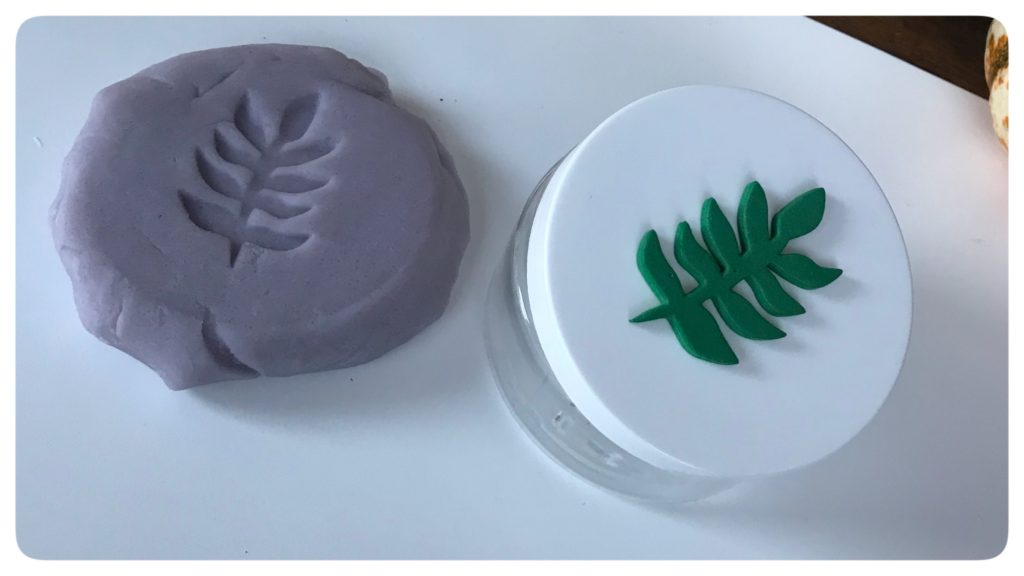
Playdough Stamps: Bugs and Dinosaurs
This post works for both bugs and dinosaurs. The premise is the same, just with different stickers in/on your containers. Tip: Use your stamp containers to store small items used for playdough (gems, erasers, pasta).
Click here for Playdough Stamps
For more bug or dinosaur activities, check out out products on Teachers Pay Teachers!
Rolling Pins for Playdough
If you have an activity bin with playdough, you also have a wooden rolling pin to roll out the dough. Once finished, wash the rolling pin with soap and hot water, making sure to remove all the playdough. These tend to dry out because of all the salt in the playdough. If this happens, use mineral oil or other safe, food grade oil on a paper towel and wipe the rolling pin, making sure the oil soaks in. This will also help playdough from sticking.
Fairy Garden Activity Kits
I’m super excited about these particular sensory activity kits. With fairy gardens so popular right now, I wanted to have a sensory bin that was not only fun and pretty, but also durable. Make sure you supervise your child with the little lights. You can use the rice as a sensory medium and put the leaf lights in them to glow a little, also fairies can go into the jar with twinkle lights.
Light Board Activity Kits
These individual light boards are pretty easy to assemble. Make sure the batteries are in the lights and your foil lines the entire interior of the box (including sides). Put your lights in the bottom of the container with some space between them and push in to turn them on. Place the cutting board on top of the container and Voila! You have a light table. You may want to use the adhesive on the bottom of the lights to keep the lights from moving around.
For more details on using your light board, check out this post on light board/table activities.

